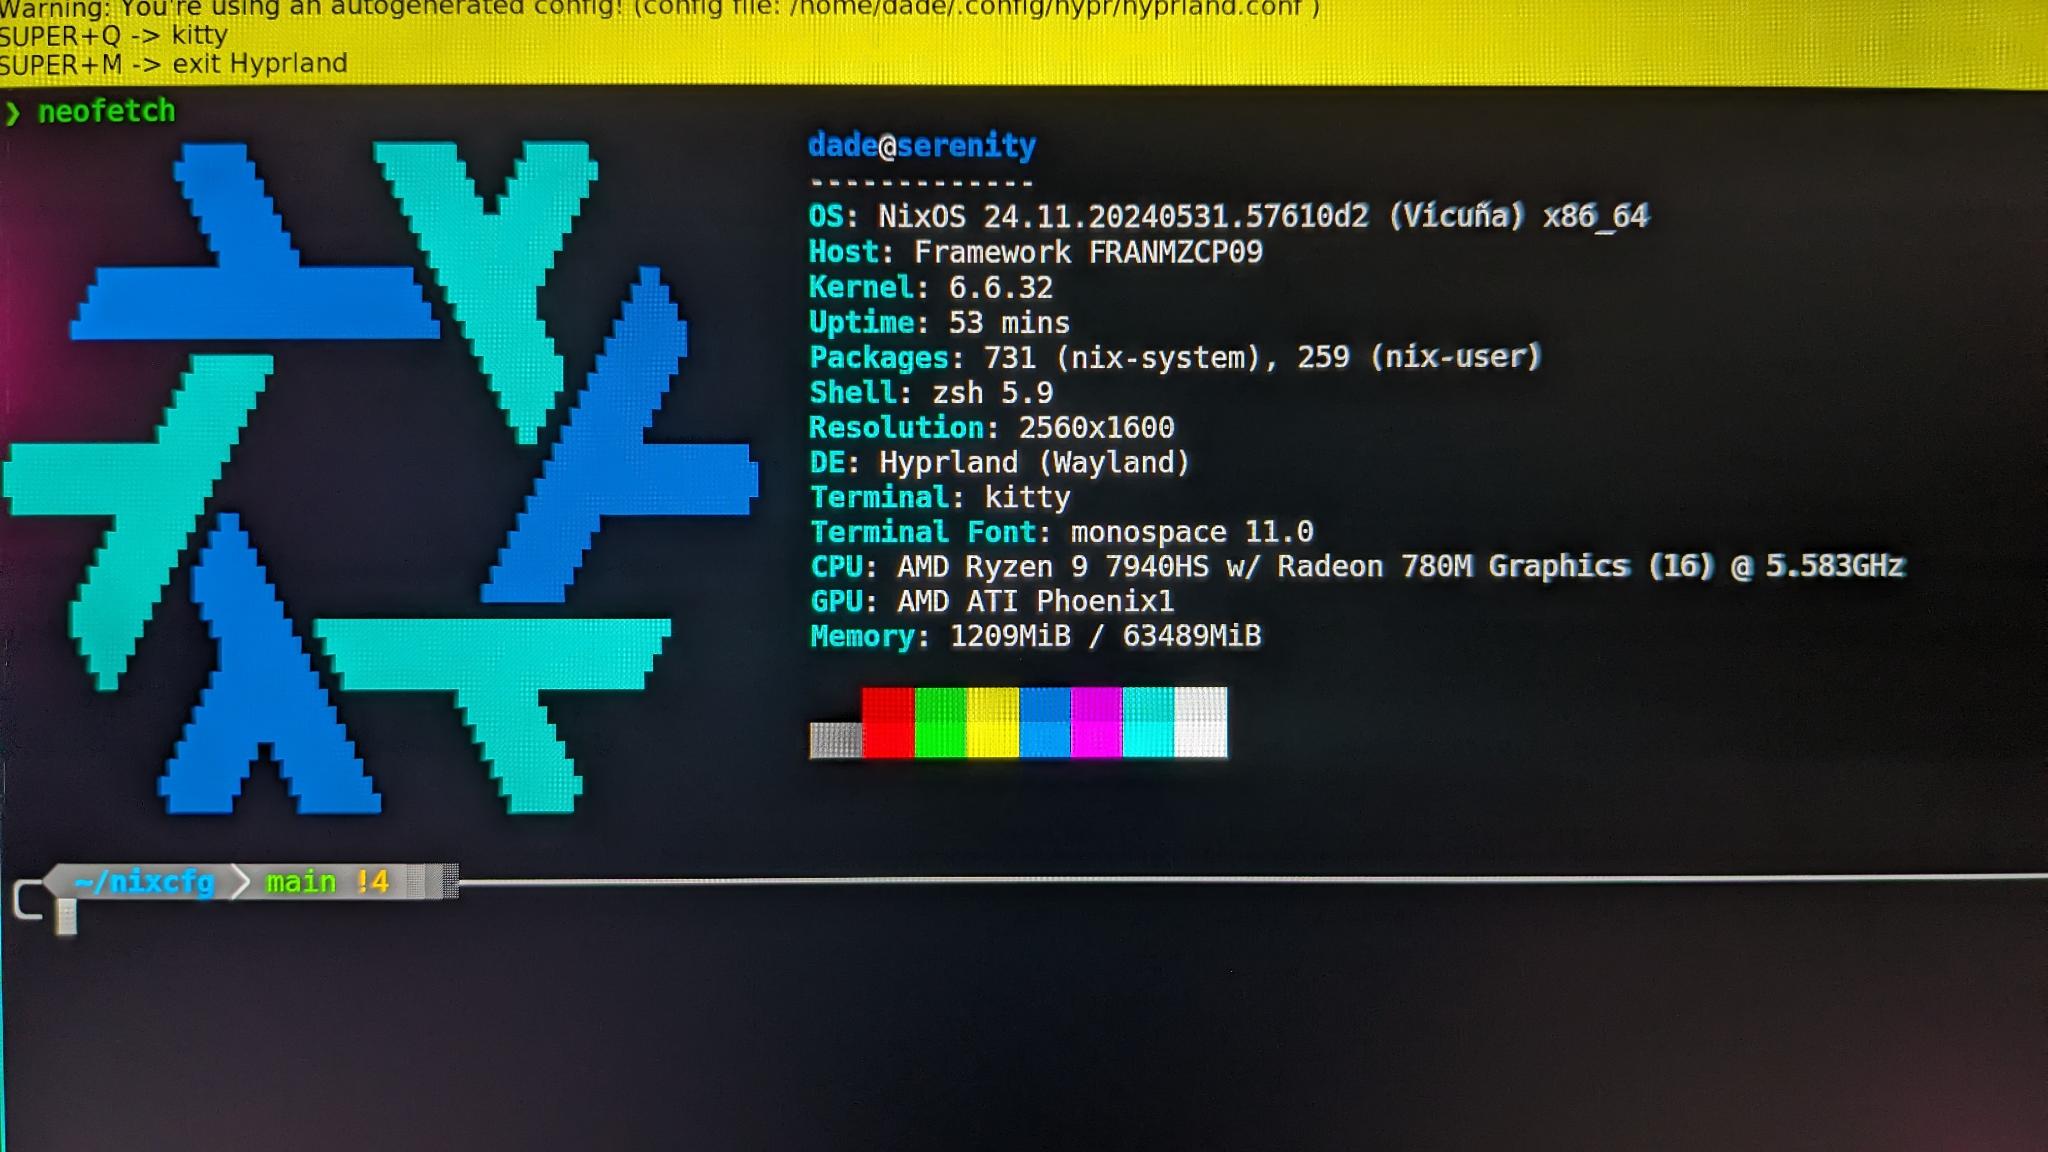
My first day with my Framework 16 AMD 7040 Series, and my experience getting NixOS setup on it.

Note: This is less of a how-to guide, and not really a cohesive blog post. Instead, it’s a series of steps I took, in roughly the order I took them, to get my new laptop setup.
Putting it together
I ordered the DIY kit, which is less of a full DIY and more of a “some assembly required” kit. I had to install the SSD (WD Black 4TB NVMe), the RAM (64GB DDR5), the keyboard, and the bezel around the screen. The process was super easy, everything was very well labeled and the instructions were very clear. My only complaint is that 17 screws is a lot to remove if I want to add that second SSD later.
Overall I’m very pleased with the build quality. The dimensions and weight of the laptop will likely take a little getting used to, since it’s a bit bigger than my 14" MacBook Pro M1 Pro for work, and considerably larger than my personal 13" MacBook Pro. But all that extra size and weight is just the added freedom I get for going with a Framework, I suppose.
Disable SecureBoot
As I’ve previously discovered, NixOS does not boot with Secure Boot by default. Instead of spending time getting Lanzaboote setup, I opted to just go with it disabled for the time being. Disabling it is easy and then NixOS installs easily.
Installing NixOS
I used the 23.11 NixOS GNOME installer, which made installation a breeze. I had to open the system settings and connect to my WiFi, then exit and re-open the installer, then I was off to the races.
During the installation, I don’t think it prompted me for a hostname – this would have been nice, but not necessary I suppose.
Bootstrapping my configuration
I already have a configuration that I’ve been working on in a virtual machine on my desktop that is stored in git and uses flakes. To get my configuration working on my new laptop, I had to make a couple changes.
Getting Git
Nix doesn’t ship with git by default, and I need git to clone my private repository. Thankfully, nix-shell -p git made this really easy. But once I had git, I didn’t have an SSH key, and my nix config is private right now.
Setting Up an SSH key
I like to use an SSH key per device and avoid copying SSH keys between devices, so I had to generate a new key before I could clone my repository. ssh-keygen -t ed25519-sk to generate a key that uses FIDO2 attestation from my yubikey. I would love to have been able to use a platform authenticator (e.g. my fingerprint reader), but I didn’t try very hard and it was easy enough to just plug my yubikey in.
Now I have an SSH key that requires touching my yubikey to use, I have to get the public key added to my Github. Since all my credentials are in my password manager, which isn’t on my new laptop yet, I had to get the public key to my desktop. Nothing a little pastebin can’t handle. Pasted the key into pastebin on my laptop, typed the url into my desktop, copied the key into Github, and I’m good to go.
Clone my config
git clone [email protected]:0xdade/nixcfg – This was it, I keep my nix config in my home directory right now, easy peasy.
Adding a second host configuration to flake.nix
Every video I’ve watched and nix config I’ve looked at has separated out their configs by host, and now I understand why. Previously most of my configuration was in just a plain configuration.nix file in the root of my repository. But my VM doesn’t support hyprland, I think because hyper-v doesn’t do graphics hardware acceleration or something like that. It also has some extra kernel modules specifically for running in hyper-v.
So I made some new directories in my config repo, hosts/serenity and hosts/solacevm – serenity is my new laptop, and solacevm is my Nix VM on my solace desktop. I copied the existing nixcfg/configuration.nix and nixcfg/hardware-configuration.nix into hosts/solacevm/ and then also copied nixcfg/configuration.nix into hosts/serenity/. I haven’t made any tweaks to it yet, but now I have two copies of the configuration file in my repository, one for each host I want to run nix on.
I also copied /etc/nixos/hardware-configuration.nix into ~/nixcfg/hosts/serenity/hardware-configuration.nix so that my repository would track it. I read somewhere that Flake doesn’t care about files that aren’t tracked in your git repo, so this seemed like a wise move to avoid a potential future headache.
Now that I have the second configuration setup, I modified flake.nix to add a second output nixosConfiguration, like so:
nixosConfigurations.serenity = nixpkgs.lib.nixosSystem {
  specialArgs = {inherit inputs;};
  modules = [
    ./hosts/serenity/configuration.nix
    inputs.home-manager.nixosModules.default
  ];
};
nixosConfigurations.solacevm = nixpkgs.lib.nixosSystem {
  specialArgs = {inherit inputs;};
  modules = [
    ./hosts/solacevm/configuration.nix
    inputs.home-manager.nixosModules.default
  ];
};
Each nixosConfiguration is named according to the hostname of the machine it runs on, which means I don’t have to specify which configuration to use when I do a flake rebuild. For example, if I run nixos-rebuild switch --flake ~/nixcfg on my serenity device, it is equivalent to running nixos-rebuild switch --flake ~/nixcfg#serenity – Just nice to save a couple keystrokes and share a single switch alias across all my environments.
Setting up Hyprland
I got Hyprland set up by making some minor tweaks from my old vm configuration. My VM was running Budgie with lightdm, which was pretty easy to setup, but I wanted Hyprland. I have long been a sucker for tiling window managers, and Hyprland looks great.
The key things I had to do while setting up Hyprland were pretty simple program enables, but there were a couple caveats I wanted to be aware of.
You probably want a login manager, and you probably don’t want lightdm
I switched services.xserver.displayManager.lightdm.enable to services.xserver.displayManager.sddm.enable. Prior to doing this, I had accidentally commented out my entire services.xserver block in favor of the hyprland block, only for my rebuild to kill Budgie and leave me with a black screen with a blinking cursor that I couldn’t type into. I rebooted and went back to my previous configuration and realized I needed this.
So my complete set of changes to get hyprland working was:
programs.hyprland.enable = true;
programs.hyprland.portalPackage = pkgs.xdg-desktop-portal-hyprland;
services.xserver = {
  enable = true;
  xkb.layout = "us";
  xkb.variant = "";
  displayManager.sddm.enable = true;
};
Kitty
So hyprland is apparently a little bit opinionated – the default configuration gives you a hot key to open the kitty terminal emulator. The only problem is that I didn’t install the kitty terminal emulator because I didn’t know this.
So I gave it the old reboot, went back to a previous version of my nix config that was running Budgie, and added kitty to my environment.systemPackages list. I think technically I could have just added this to my home-manager home file, I don’t think I need it to be installed as a system package. But since hyprland is also enabled at the system level, it seemed wise to also include kitty at the system level. Besides, my laptop is a single-user device, so the difference between a system package and a home package isn’t particularly meaningful to me.
Setting up my Fingerprint Reader
While scouring the web to try to understand why the reboot and shutdown commands don’t actually turn off my laptop, I came across this thread on the Framework forums about NixOS on the Framework Laptop 16. Within this thread I picked up a few neat things, including this comment by CodeMichael that shows how to setup the fingerprint reader and the power profiles daemon.
services.fprintd.enable = true; – easy as pie. Rebuilt my configuration and ran sudo fprintd-enroll dade and now I can use my fingerprint to sudo, as well as a secondary prompt after entering my password when logging in.
Enabling Framework specific nixos modules
I think I had seen nixos-hardware before, but didn’t really understand it, especially since I have been running purely inside a virtual machine up until today. But sure enough, there is a set of NixOS modules specifically for the Framework 16 AMD 7040 series laptops, so I set out to understand how to include the nixos-hardware modules.
First, I had to add nixos-hardware as an input in my flake.nix file. Towards the top, in my inputs attribute set, I added:
inputs = {
  ...
  nixos-hardware.url = "github:NixOS/nixos-hardware/master";
};
I then added the appropriate NixOS module to my ~/nixcfg/hosts/serenity/configuration.nix imports:
imports = [
  ./hardware-configuration.nix
  inputs.nixos-hardware.nixosModules.framework-16-7040-amd
  inputs.home-manager.nixosModules.default
];
Another rebuild, and I’m off to the races. This contains some specific hardware workarounds for the Framework 16 on AMD 7040 series, including enabling power-profiles-daemon, an acpi alarm kernel param depending on your kernel version, as well as some powerstate (or maybe performance state? idk what pstate is) tweaks for specific kernel versions, and some hardware settings for opengl and other AMD video driver specific settings.
I can’t say I fully understand all of them, but in this case I figured it couldn’t hurt to try. Especially if there was a chance it would fix my reboot problem.
Home-manager
I am only including this section out of completeness – I didn’t have to change anything about my home-manager configuration to get it working. Everything in my home-manager configuration, including my shell configuration and my applications all just worked when I did my rebuild. I suspect in the future I might want to split up my home-manager config, though, since the things I’ll want in a desktop environment and a server environment are definitely different.
Outstanding Issues
The only real outstanding issue I have at the end of day 1 with my laptop is that shutdown and reboot aren’t actually turning the computer off. Based on the shutdown logs, I believe the operating system is exiting cleanly and then the hardware is just not turning off.
Next Steps
- I’d love to get the power issues resolved for shutdown and reboot as a priority, but I’m not sure what else to try. There’s a closed issue with activity as recent as a few days ago suggesting this might be a regression in a recent kernel version.
- I need to bring my hyprland config into home-manager and get it customized. I hate when the mouse cursor position changes the focused window, and I also hate the large yellow warning bar about using an autogenerated config across the top of my screen.
- I want to run impermanence on my laptop in an effort to keep my system clean by default and keep my configuration completely reproducible. I’ve read that this is not the sort of thing that is easy to implement later on, so I want to get it figured out sooner rather than later before I start to actually have data on the system.
- I’d also like to get Lanzaboote up and running on the system, I don’t love having to disable secure boot. I’ll probably experiment with this on my virtual machine first.
- I ordered the RGB macropad but haven’t installed it yet. I also might order the LED panels, and then I can try setting those up following CaffineeTim’s module.
- I need to also get my password manager setup before I can fully move in. Thankfully it looks like there’s a module for that.
- Figure out how to take screenshots so I can include a fancier neofetch output than the one I’m going to include at the top of this post.
- Get my obsidian vault moved in. Would you look at that, there’s a module for that.
Side Note: NixOS Communities and Framework Community have partnered together, which is exciting and means it’s likely only going to get easier to run NixOS on Framework devices.
如有侵权请联系:admin#unsafe.sh