IntroductionWhen using the Cortex XSOAR API in your automations, playbooks or custom scripts 2022-6-1 16:0:0 Author: blog.nviso.eu(查看原文) 阅读量:34 收藏
Introduction
When using the Cortex XSOAR API in your automations, playbooks or custom scripts, knowing which API endpoints are available and how to use them is key. In a previous blog post in this series, we showed you where you could find the API documentation in Cortex XSOAR. The documentation was available on the server itself, as a PDF, or as a Swagger file.
Swagger is a set of developer tools for developing and interacting with APIs. It is also a former specification for documenting APIs on which the OpenAPI specification is based.
In this blog post we will show you how to setup a Swagger Editor instance together with the Cortex XSOAR API Swagger file to visualize and interact with the Cortex XSOAR API. This will allow you to easily explore it’s capabilities, craft HTTP requests and view the returned data without the need to write a single line of code.
Swagger Editor
The Swagger Editor is an open source editor to design and document RESTful APIs in the OpenAPI (formaly Swagger) specification.
To install Swagger Editor we will be using the official docker image available on Docker Hub. If Docker is not yet installed, please follow the Docker installation documentation.
Start the docker image with the following commands:
docker pull swaggerapi/swagger-editor
docker run -d -p 80:8080 swaggerapi/swagger-editor
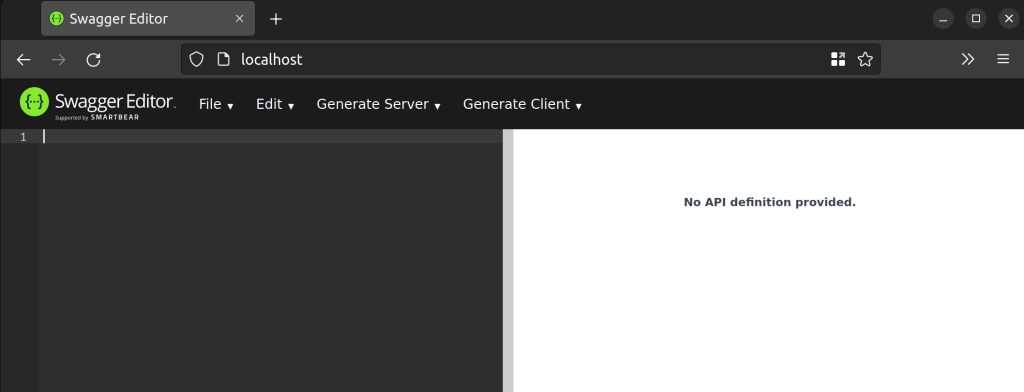
The Swagger Editor will now be available in your browser on address http://localhost

Before we can start interacting with the Cortex XSOAR API, we will need to bypass CORS restrictions in your browser.
Cross-Origin Resource Sharing (CORS) is a mechanism that allows restricted resources on a web page to be requested from another domain outside the domain from which the first resource was served. In Firefox, CORS is only allowed when the server returns the Access-Control-Allow-Origin: * header which we are going to set using a Firefox extension.
In Firefox, the extension CORS Everywhere is available for installation in the Firefox Add-ons. Once installed, a new icon will be available in the Firefox toolbar. To bypass CORS restrictions, click the CorsE icon and it will turn green.

Explore Cortex XSOAR API
To start exploring the Cortex XSOAR API from the Swagger Editor, we will need to create an API key and download the REST Swagger file. Open Cortex XSOAR > Settings > Integration > API Keys:

Click Get Your Key to create an API key and copy the key.
Download the REST Swagger file, copy the content of the downloaded JSON file and paste it into the Swagger Editor.
Click OK to convert the JSON to YAML:

After importing the JSON, an error will be shown which can be ignored by clicking Hide:

On line 36 of the imported YAML file, replace hostname with the URL of your Cortex XSOAR server:
Click Authorize to add authentication credentials:

Paste your API key and click Authorize:

Now you are ready to start exploring the Cortex XSOAR API. For each available API endpoint you will see an an entry in the Swagger Editor together with its supported HTTP method.

We are going to use the /incidents/search API Endpoint as an example.
When you expand the /incident/search entry, you will see it’s description:

Next you will see the required and optional parameters, together with their required data models, either in JSON or XML:

Finally you will see the possible response codes, content types and example data returned by the API endpoint:

All this information will allow you to craft the HTTP request to the Cortex XSOAR API for your automation or custom script. But the Swagger Editor also allows you to interact with an API directly from its web interface.
In the entry of the /incident/search API endpoint, click on Try it out:

You will see that you can now edit the value of the filter parameter. We will be searching for an incident in Cortex XSOAR based on its ID:
{
  "filter": {
    "id": [
      "12001"
    ]
  }
}
After pasting the JSON in the filter value, click Execute:

The API request will now be executed against the Cortex XSOAR API.
In the Responses section, you will see the Curl request of the executed API request. You can use this command in a terminal to execute the API request again.

The response body of the API request can be seen in the Server response section.

By using the Swagger Editor to interact with the Cortex XSOAR API, you can explore the available API requests and their responses without implementing any code. This allows you to see if the Cortex XSOAR API supports the functionality for your automated workflow case before you start development.
References
https://hub.docker.com/r/swaggerapi/swagger-editor/
About the author
Wouter is an expert in the SOAR engineering team in the NVISO SOC. As the SOAR engineering team lead, he is responsible for the development and deployment of automated workflows in Palo Alto Cortex XSOAR which enable the NVISO SOC analysts to faster detect attackers in customers environments. With his experience in cloud and devops, he has enabled the SOAR engineering team to automate the development lifecycle and increase operational stability of the SOAR platform.
You can contact Wouter via his LinkedIn page.
Want to learn more about SOAR? Sign- up here and we will inform you about new content and invite you to our SOAR For Fun and Profit webcast.
https://forms.office.com/r/dpuep3PL5W
如有侵权请联系:admin#unsafe.sh