工具
硬件:ESP8266 开发板、杜邦线、USB 数据线、LED 灯
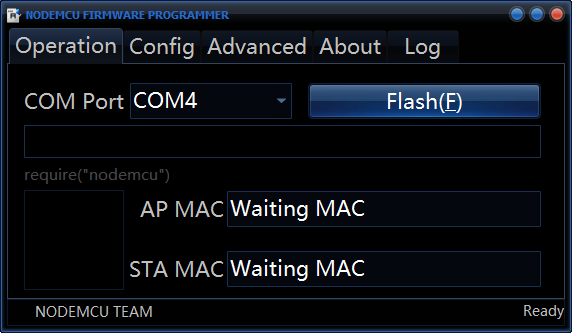
软件:ESPlorer、socketools、flashtool
前提准备
NodeMcu 的介绍:https://baike.baidu.com/item/NodeMCU/17106281?fr=aladdin
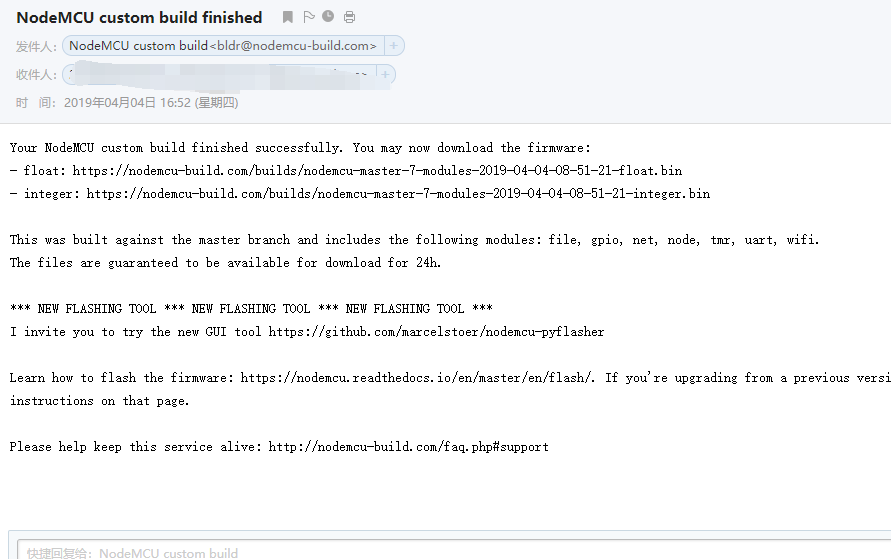
去 NodeMcu的官网上在线编译一个固件 https://nodemcu-build.com/,编译选项选择默认,填上邮箱一会就把固件的下载地址发送过来了。
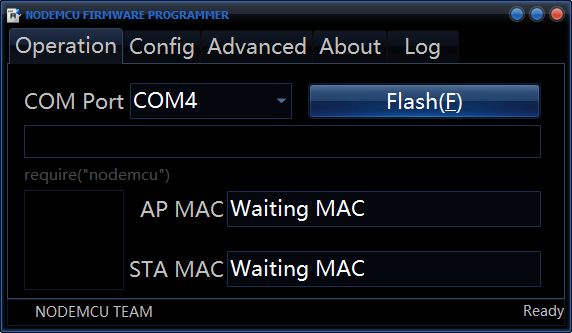
使用 ESPFlasher 把固件刷入(integer 和 float 两种版本都行),接着就可以用 ESPlorer 进行 Lua 语言的开发了。
实现局域网内点亮一个 LED 灯
具体的步骤如下:
- 设置 ESP8266 的 wifi 模式为 STATION 和 STATIONAP(同时具有 ap 和 station 的功能,以前很旧的安卓机的 wifi 可能有的会有这种功能,但是现在的手机似乎都被限制成只能单独开启一种模式。)
- 连接 wifi。参考官方的 api 函数。链接见参考资料。
- 建立一个 socket server,将 10116 端口设置为监听的端口,以 "receive" 为监听器,将收到的数据进行判断。
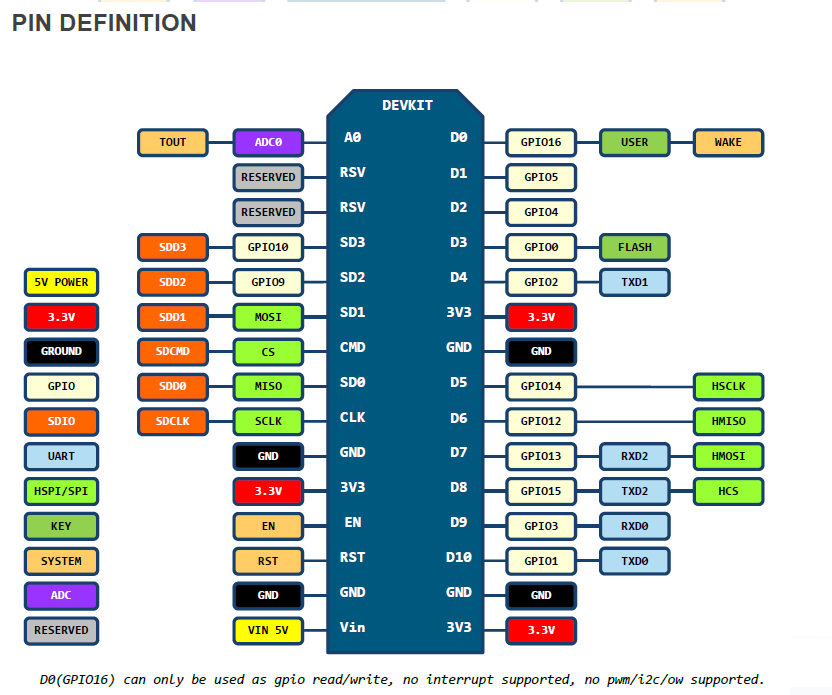
- 收到为 "on" 则控制 ESP8266 的引脚 1 (D1)为输出模式以及高电平,若为 "off",则相反。以此来达到点亮 LED 灯的目的。
ESP8266 IO 口引脚图:
代码实现
wifi.setmode(wifi.STATIONAP)
function con_wifi()
    cfg = {}
    cfg.ssid = "D-Link_DIR-820LW"
    cfg.pwd = "szdsys207"

    wifi.sta.config(cfg)
    wifi.sta.connect()
    print("config success!")
end


con_wifi()
pin = 1
gpio.mode(pin,gpio.OUTPUT)

srv = net.createServer(net.TCP,28800)
srv:listen(10116,function(conn)
    print "listening..."
    conn:on("receive",function(sck,recvStr)
        print("The data: "..recvStr)
        if (recvStr == "on") then
            gpio.write(1,gpio.HIGH)

        elseif(recvStr == "off") then
            gpio.write(1,gpio.LOW)


        else
            print("no choice!")

        end
    end)
end)
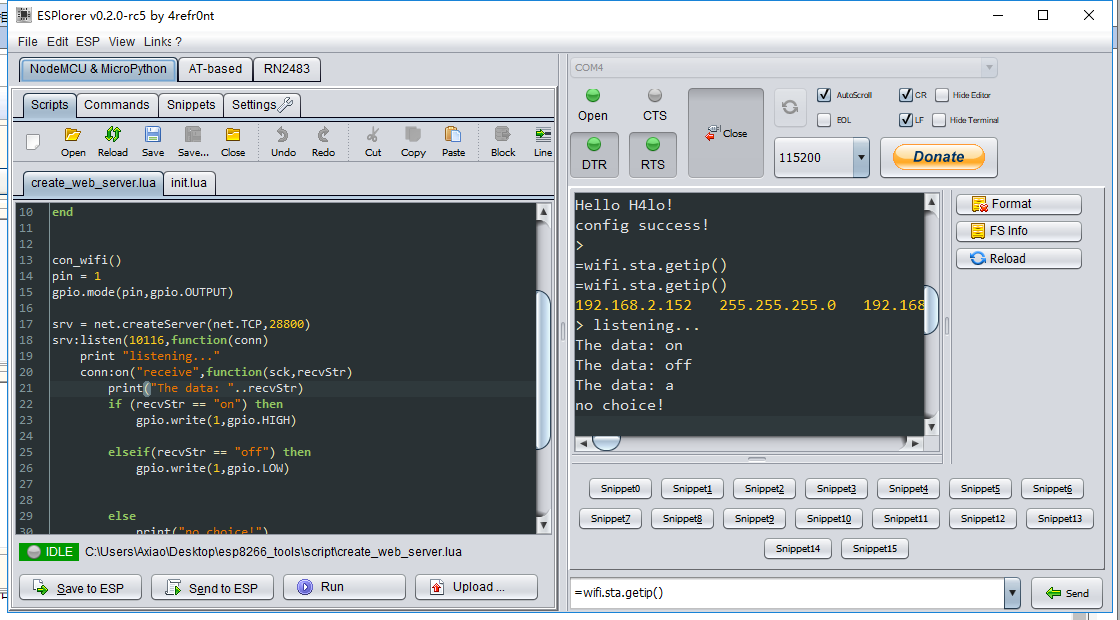
- 可以将代码设置为 ESP8266 开机初始化加载,即在 init.lua 中使用 dofile 函数来载入。

但是需要注意的是必须点击 UPLOAD 以后才能使得 init.lua 正常加载,否则会提示 file not found。

实现效果
这里是在本地开启了一个 10116 的 TCP 端口,可以手写 c 语言或者 python 的 socket 编程来连接上发送数据。
但是我这里直接选择了现成的工具来发包。

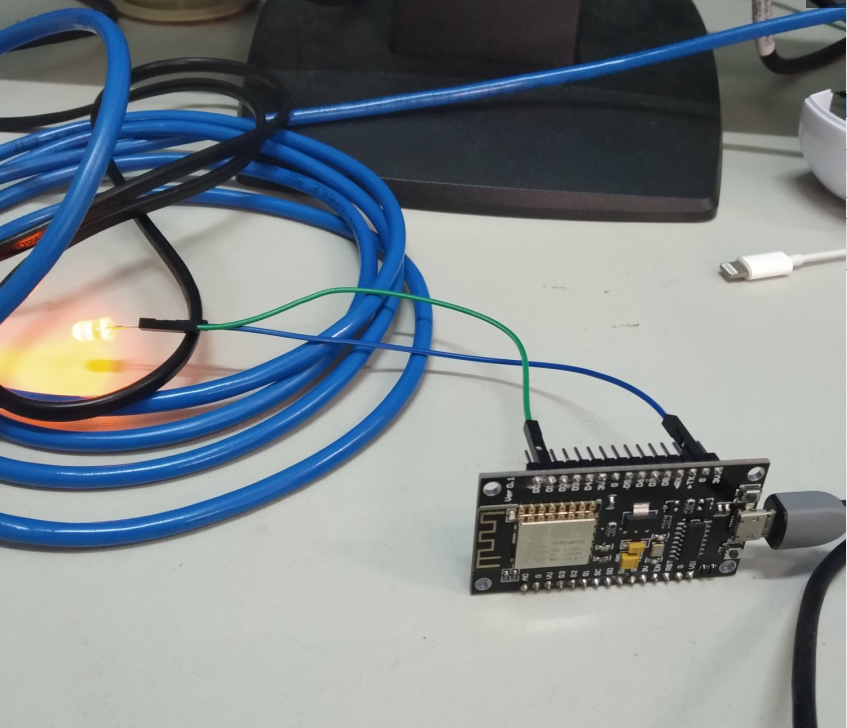
- 发送 "on" 会将 LED 灯点亮

如图:
- 发送 "off" 会将 LED 灯熄灭
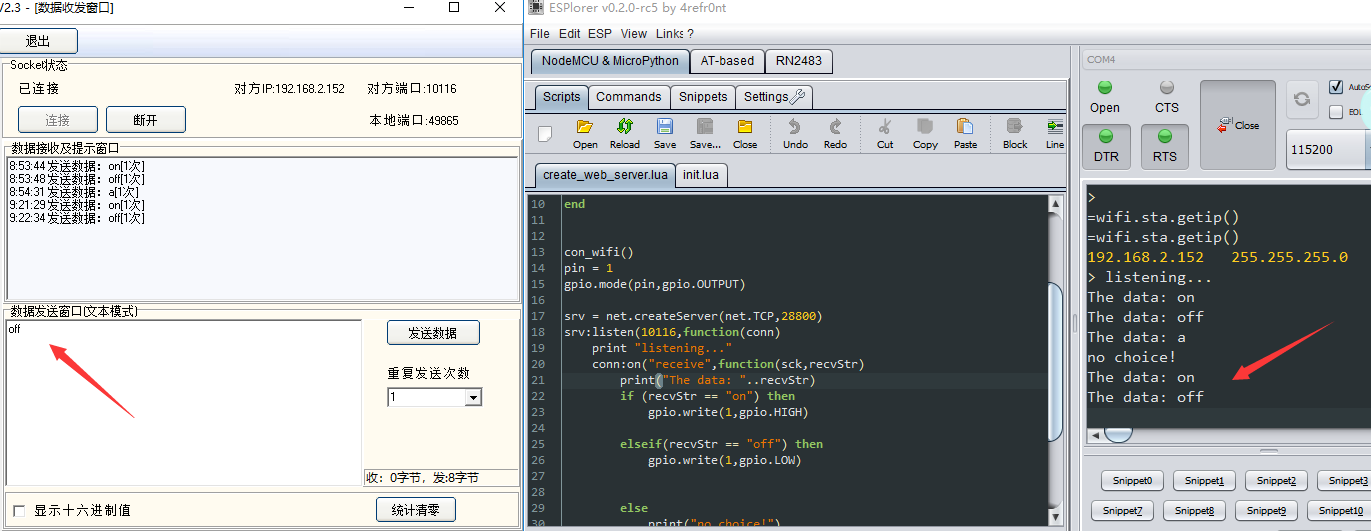
如图:
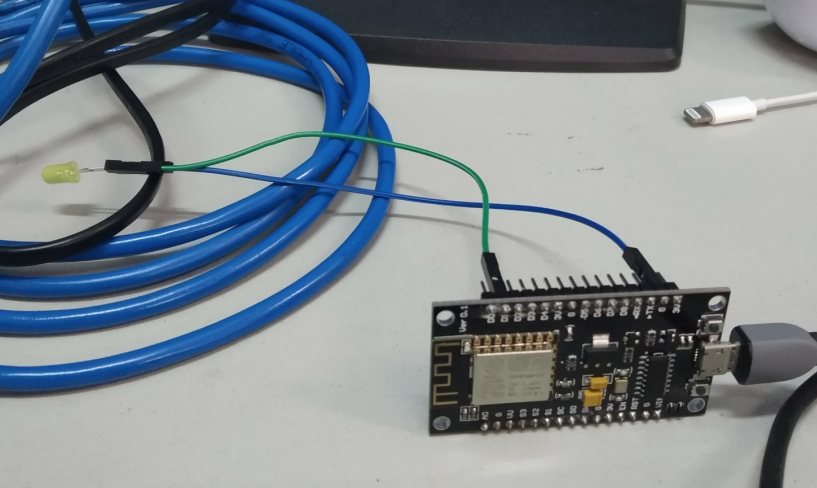
- 发送 "on" 或者 "off" 之外的命令会提示 "no choice"

wireshark 查看 TCP 包
用 wireshark 查看一下发送控制命令的 TCP 包的情况。
- 当控制信息为 "on" 时的情况
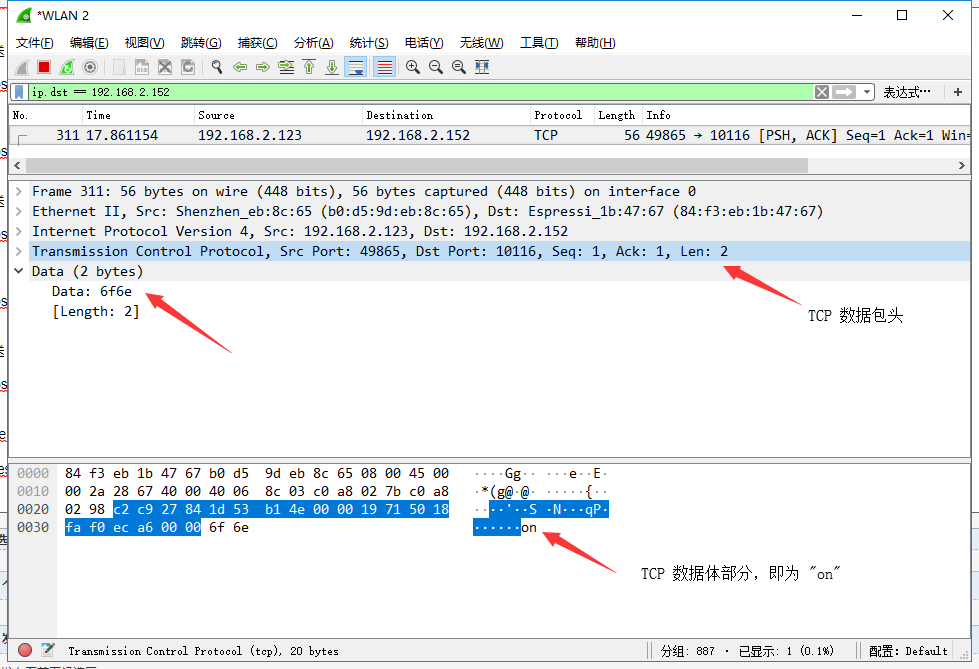
其他两种情况都是类似,就不重新抓包了。
参考资料
https://nodemcu.readthedocs.io/en/master/en/modules/wifi/#wifistagetap
https://blog.csdn.net/zz531987464/article/details/83449458
https://www.cnblogs.com/webenh/p/9087555.html
文章来源: https://www.cnblogs.com/H4lo/p/10657970.html
如有侵权请联系:admin#unsafe.sh
如有侵权请联系:admin#unsafe.sh