5-minute read
Table of contents :
Introduction
IBM AS/400 servers were widely used in the 1990s by many companies that developed their first computerized business applications. They were announced in 1988 and produced until 2000 under the name AS/400. Then the following generations of these machines were the IBM eServer iSeries in 2000, the IBM eServer i5 in 2004, the IBM System i in 2006, and finally the IBM Power Systems since 2008.
This machine architecture is very complicated to emulate and there is no virtual machine capable of running the OS/400 system. As I wanted to study this architecture and this type of systems for several years, I set up an AS/400 infrastructure in my living room!
Searching for an AS/400 server
The first thing I needed in order to build this infrastructure is an IBM AS/400 of course. Although these machines are not impossible to find, they often come with a number of issues:
-
Very often, these machines are very expensive (between 1000 and 3000 € approximately).
-
The cables are not always supplied with the machine.
-
The original system installation CDs are not always sold with the machine.
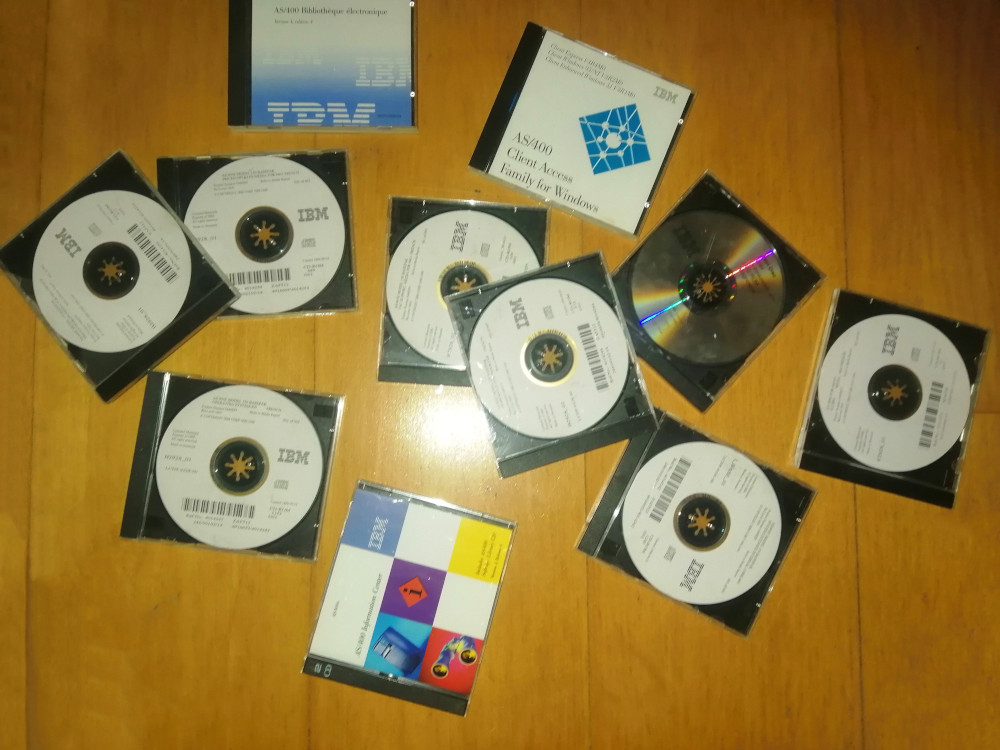
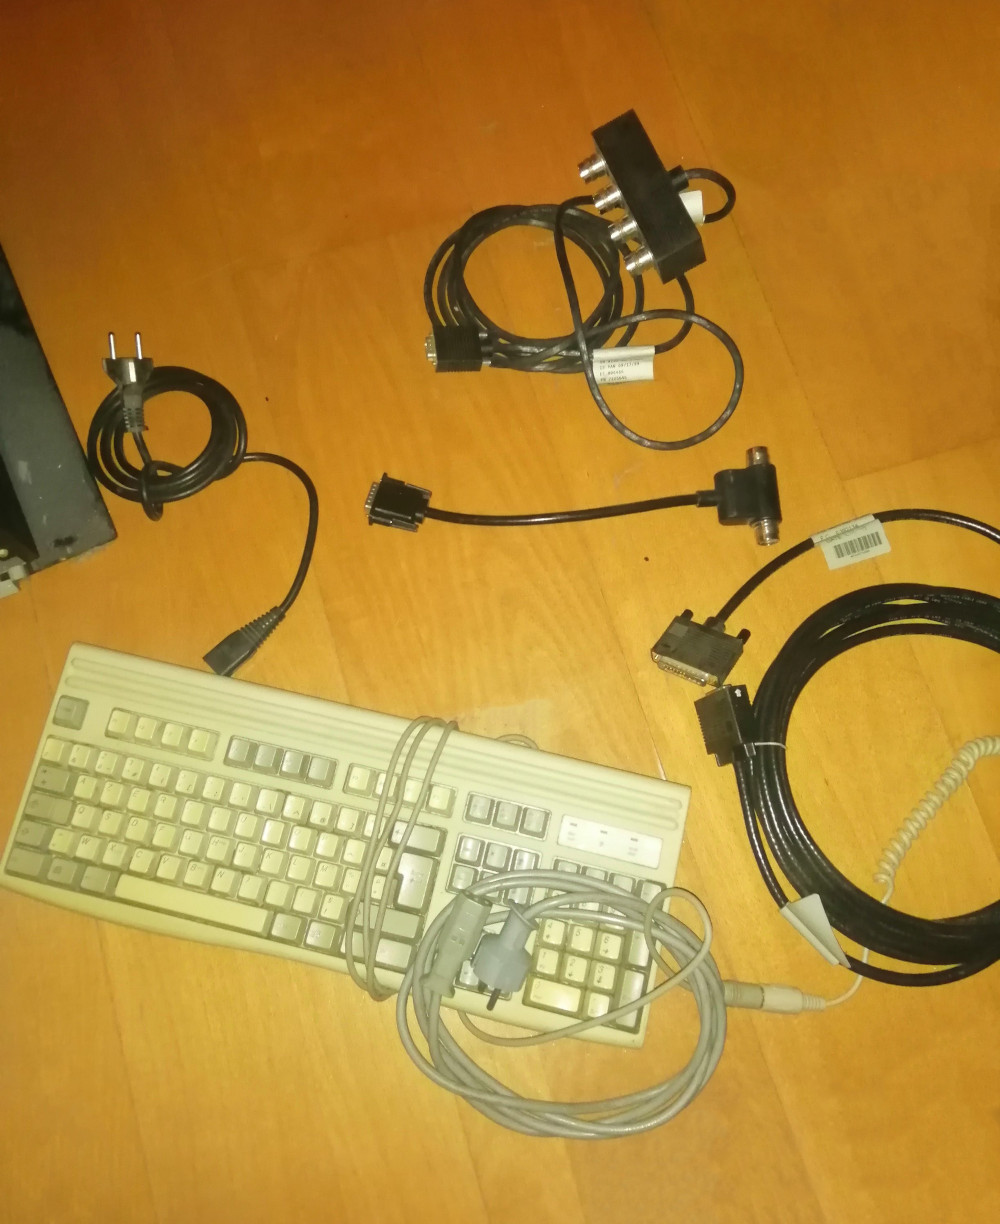
So, finding a functional and complete AS/400 at an affordable price is very complicated. I’ve been looking for one for almost two years, and at the start of 2021, I found one on leboncoin! As seen in the photos, it is very dusty, but it is complete with CDs and cables:
| Central unit | Installation CDs | Accessories |
|---|---|---|
 |
 |
 |
The seller indicateed that it is sold “as is” at 120€, and that he does not know if it works. It also indicated that the machine’s lights switched on when it is plugged in and that the machine does not have hard drives. As it was really cheap, I decided to give it a try!
Overall condition
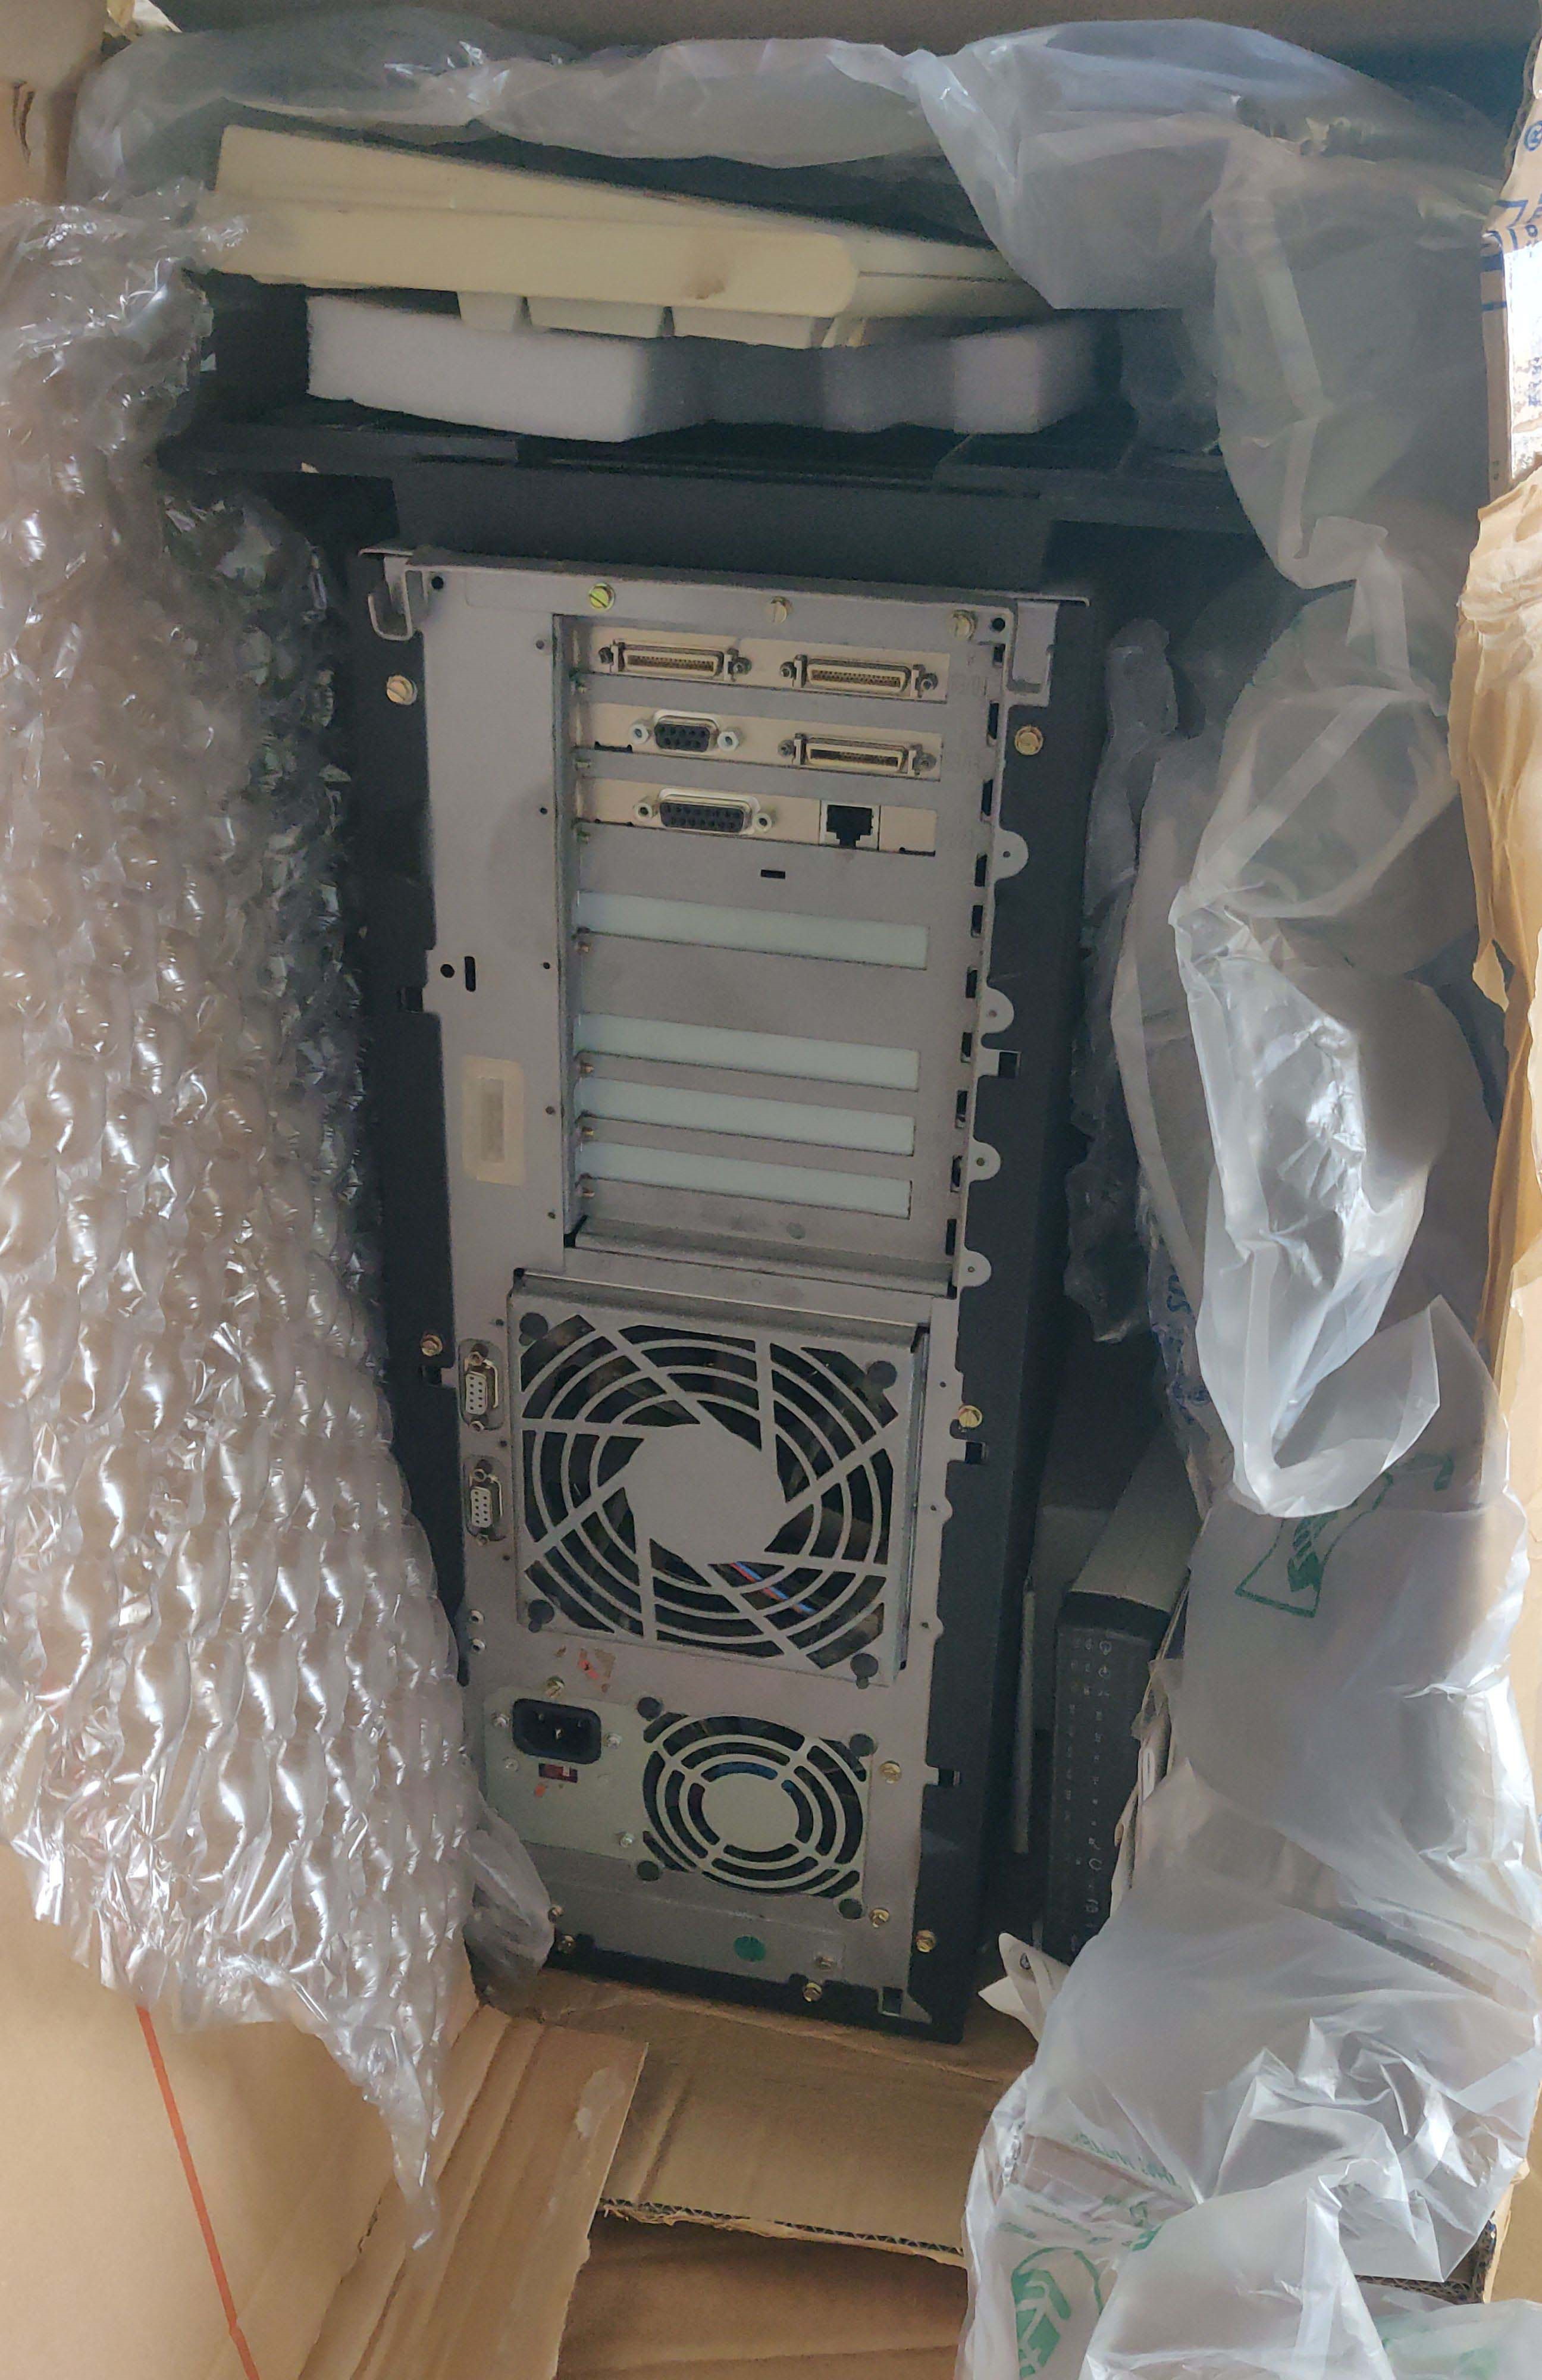
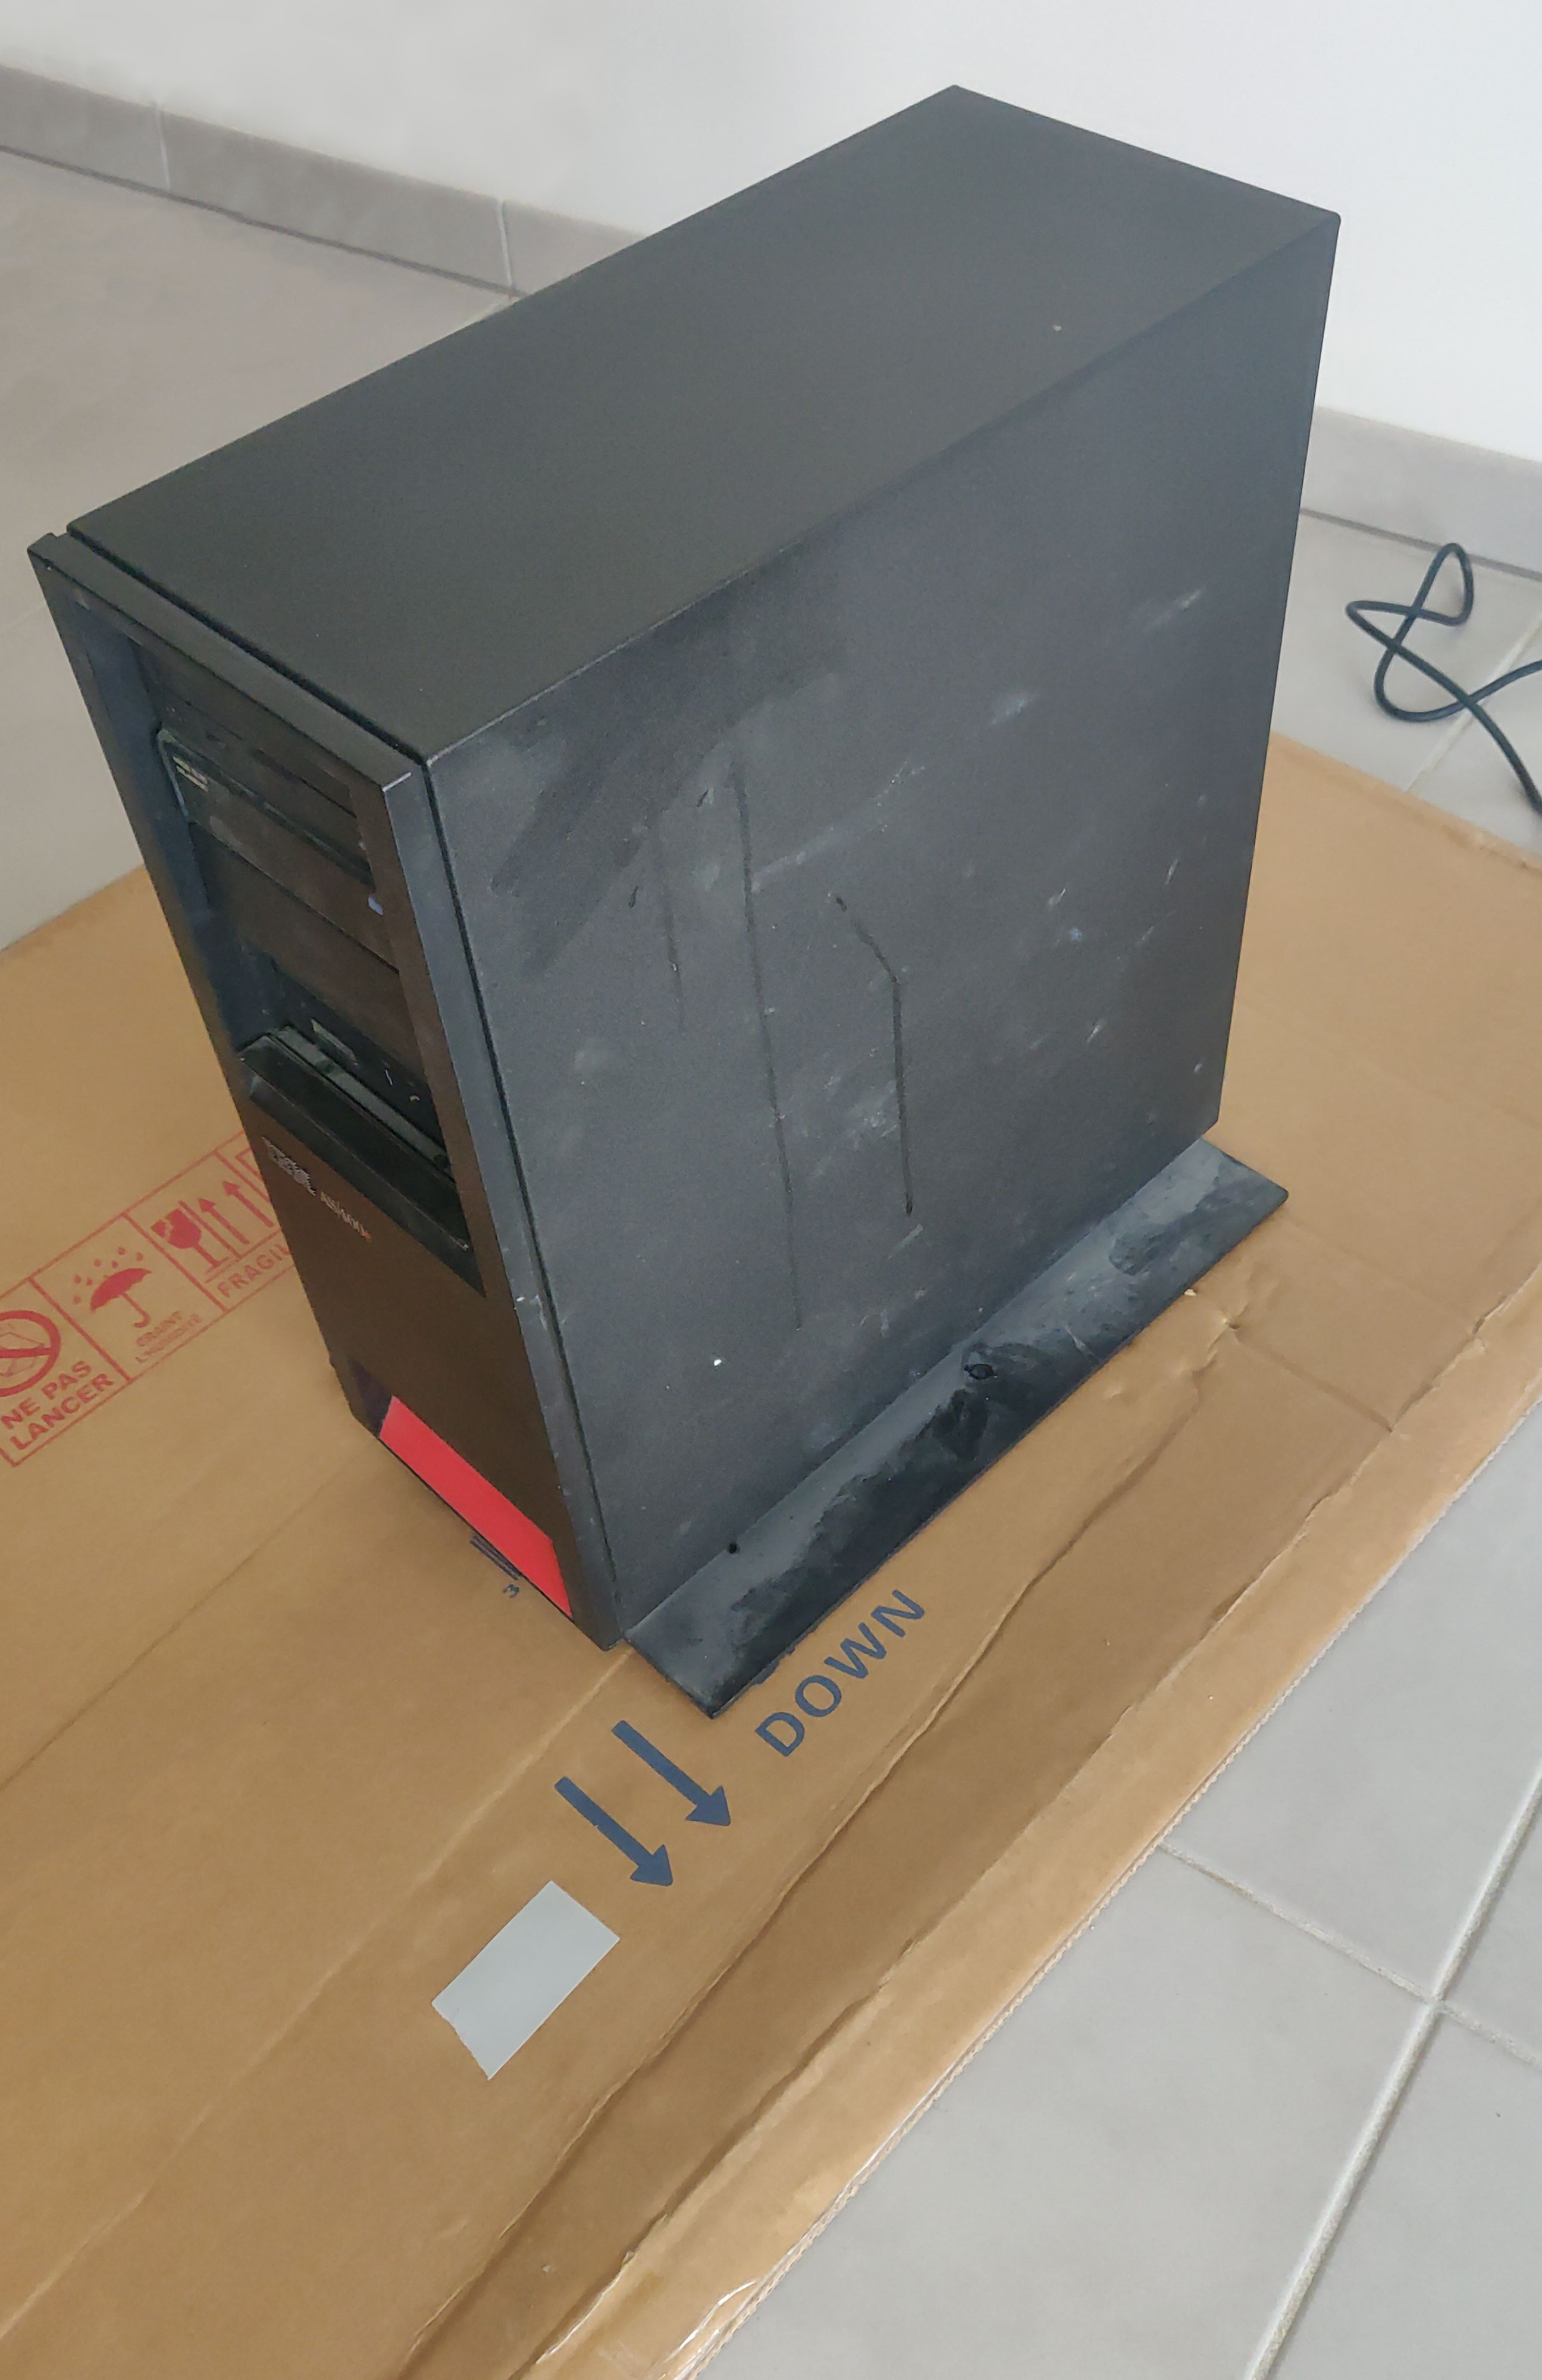
When I received the machine, I was able to see its overall condition.
| Package contents | Central unit state |
|---|---|
 |
 |
After taking the machine and all the accessories out of the box, I tried to plug it in and turn it on. When I plugged it in, the IPL control panel on the front is on, it’s already a good sign!
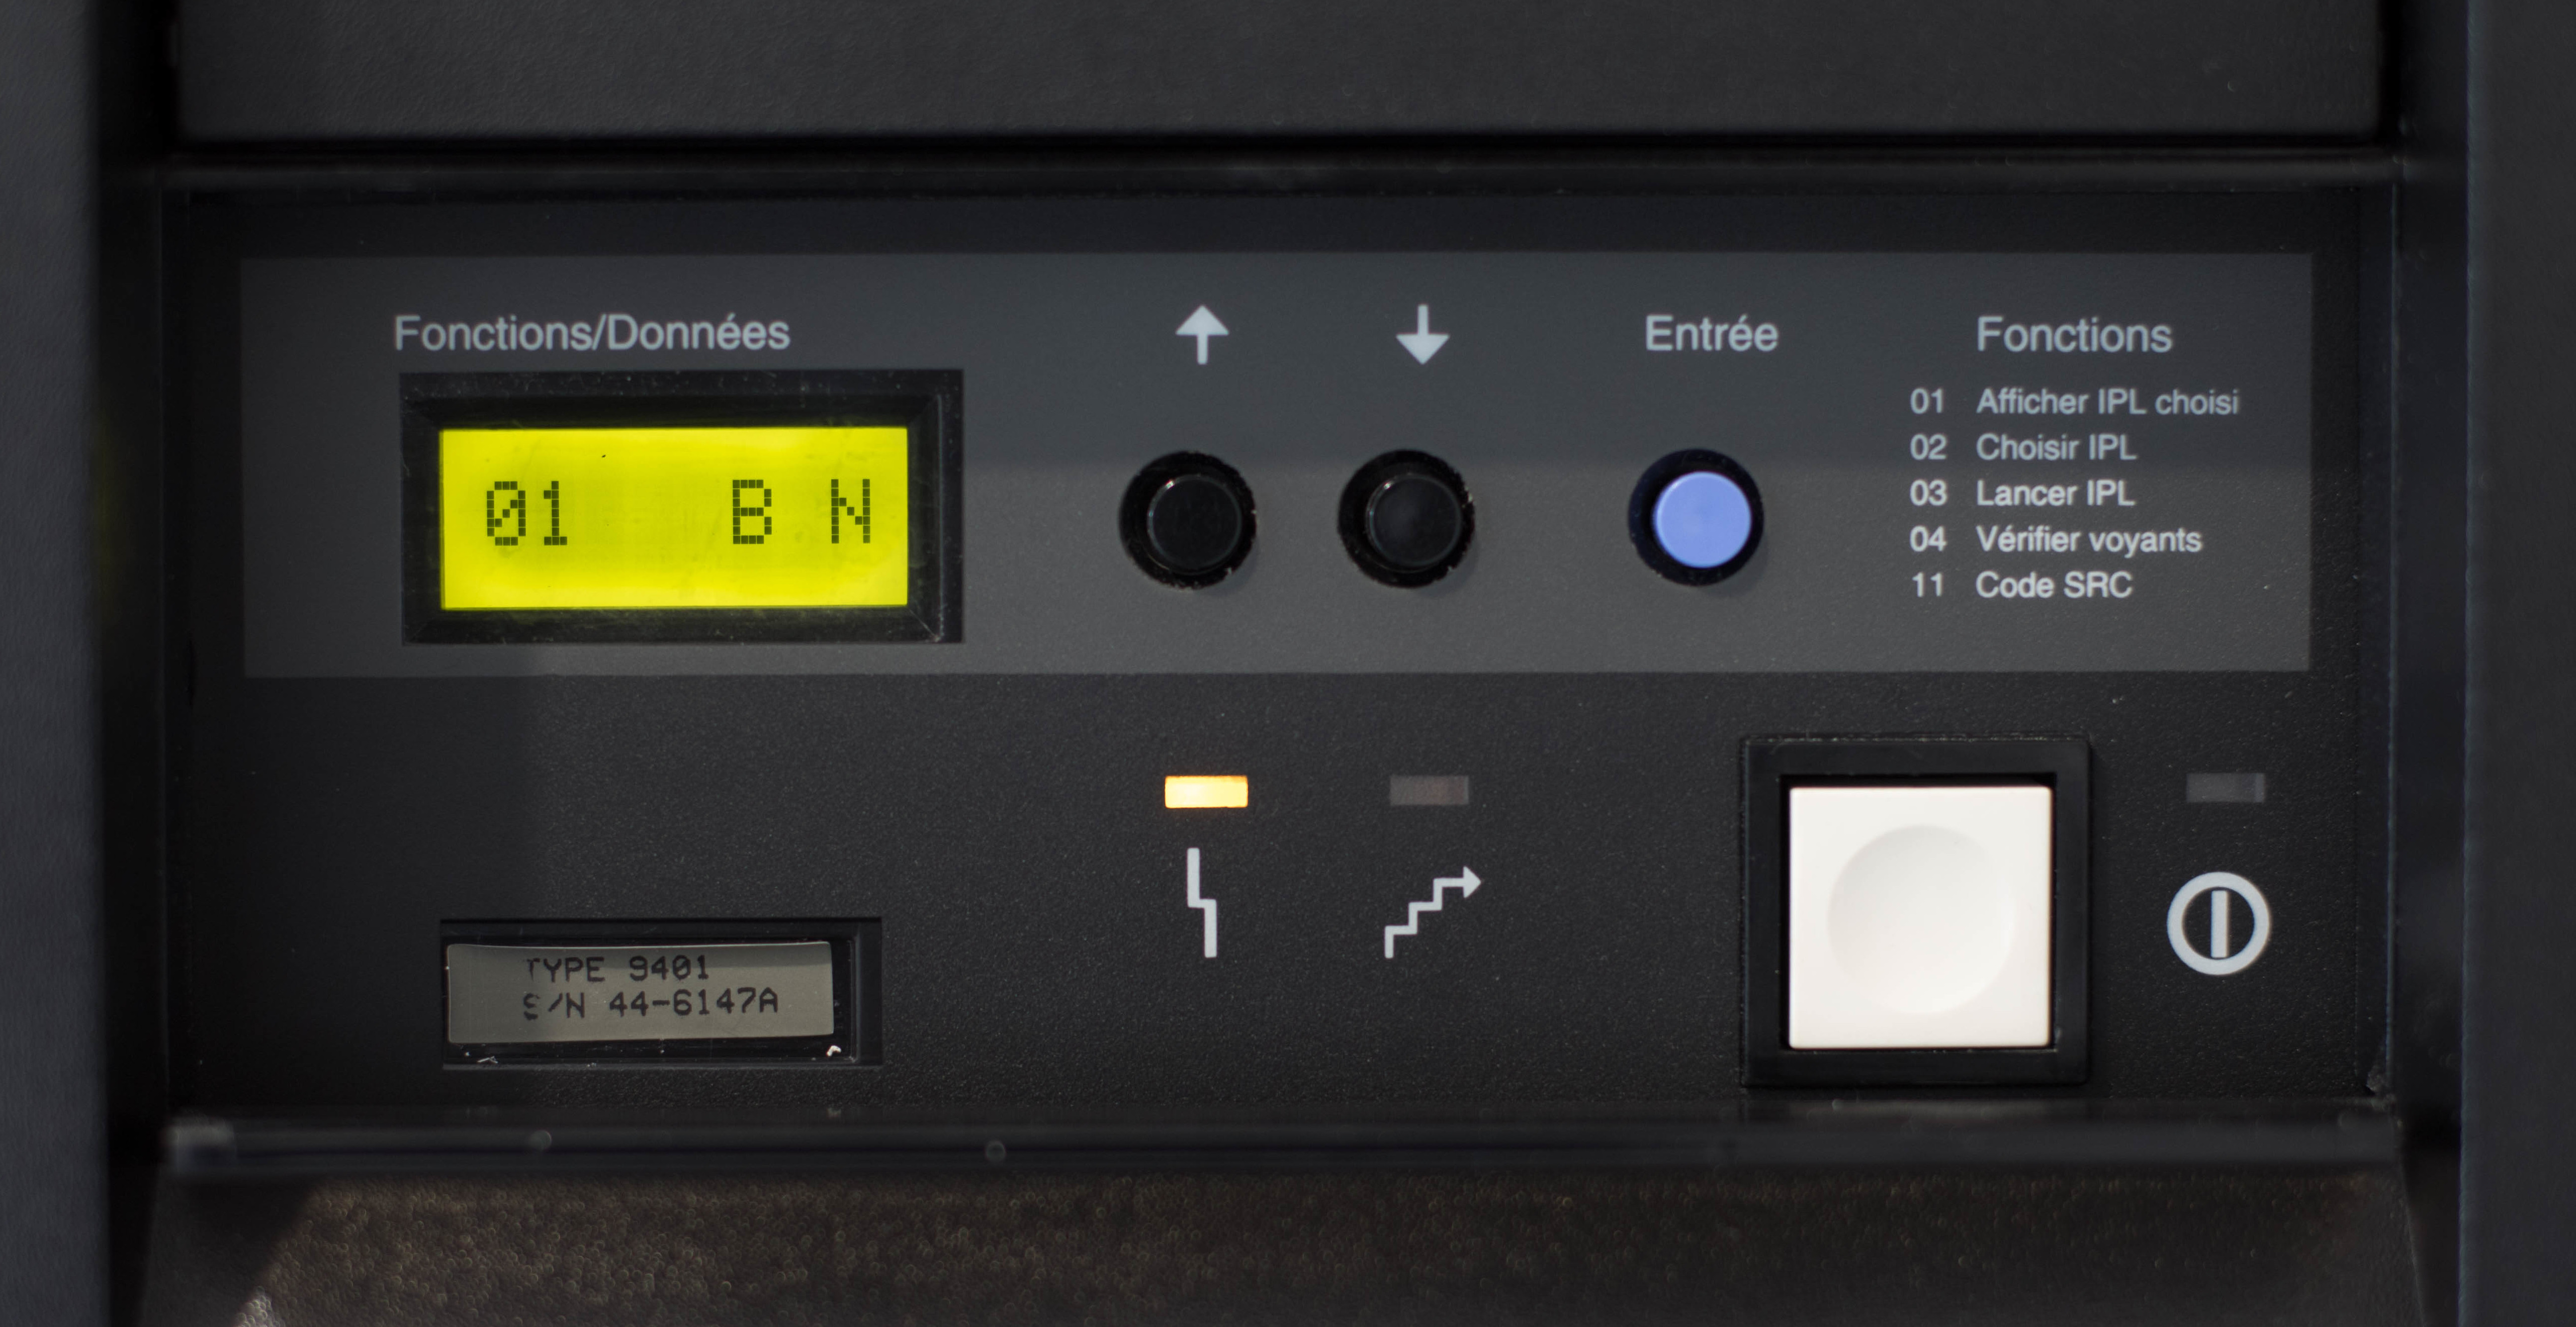
I didn’t touch the modes (I left it to 01 B N), and I pressed the power button. The fans kicked in and, to my surprise, I hear a little hard drive scratching. Victory! There is a hard drive! So I hasten to turn off the machine so as not to let it run for a long time with all this dust.
External condition
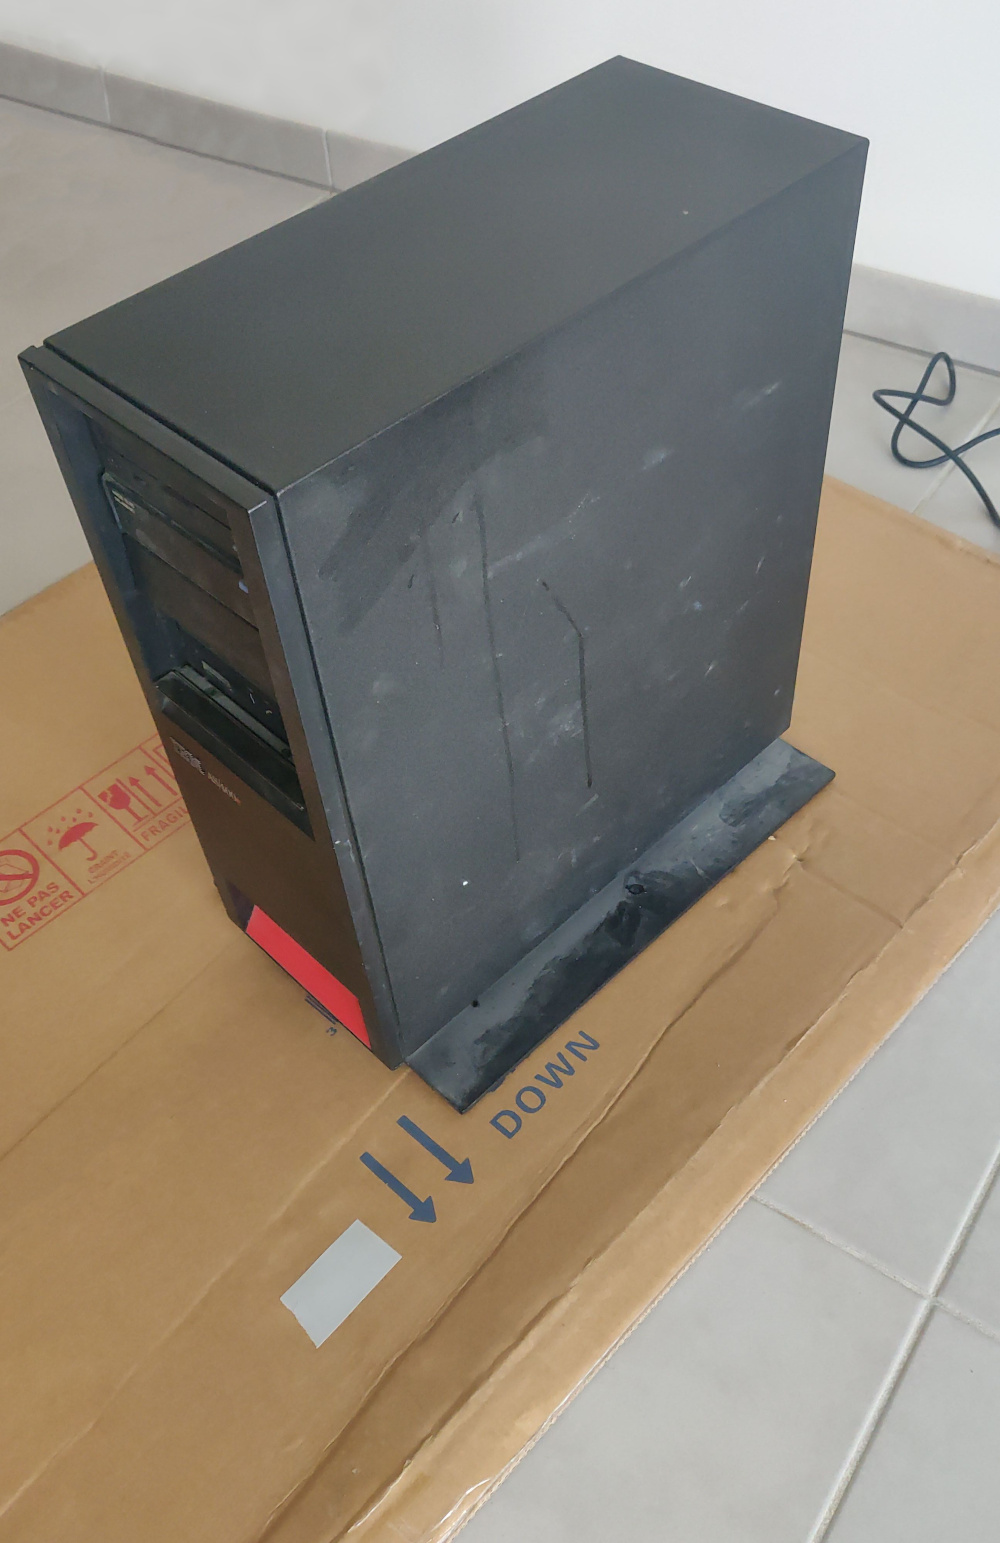
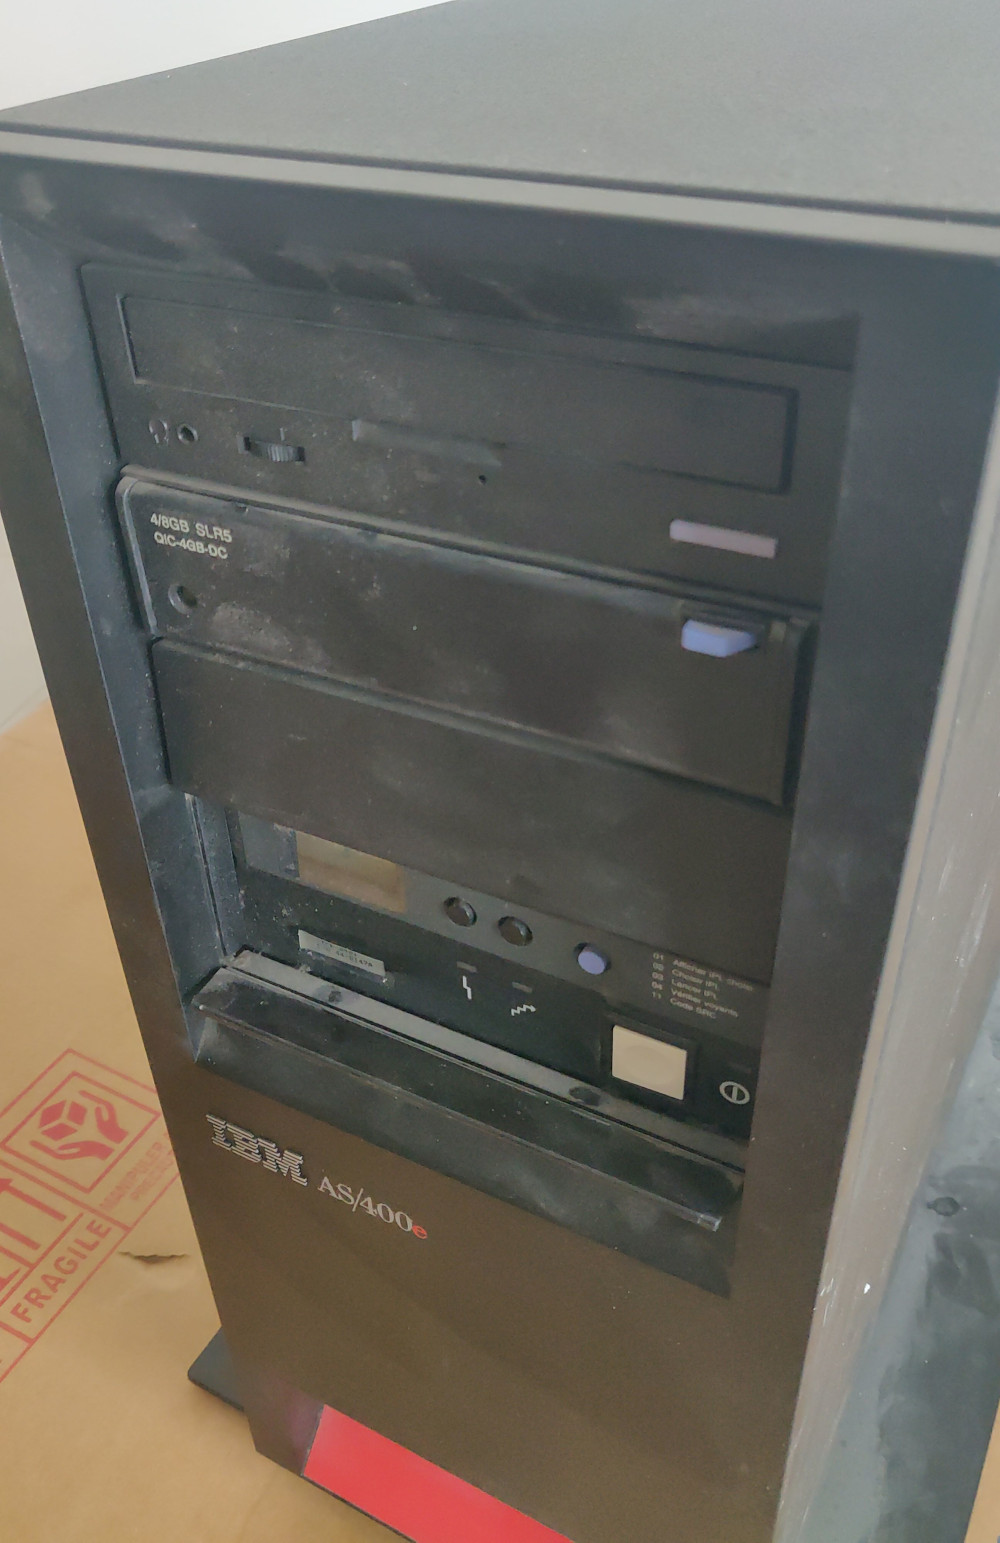
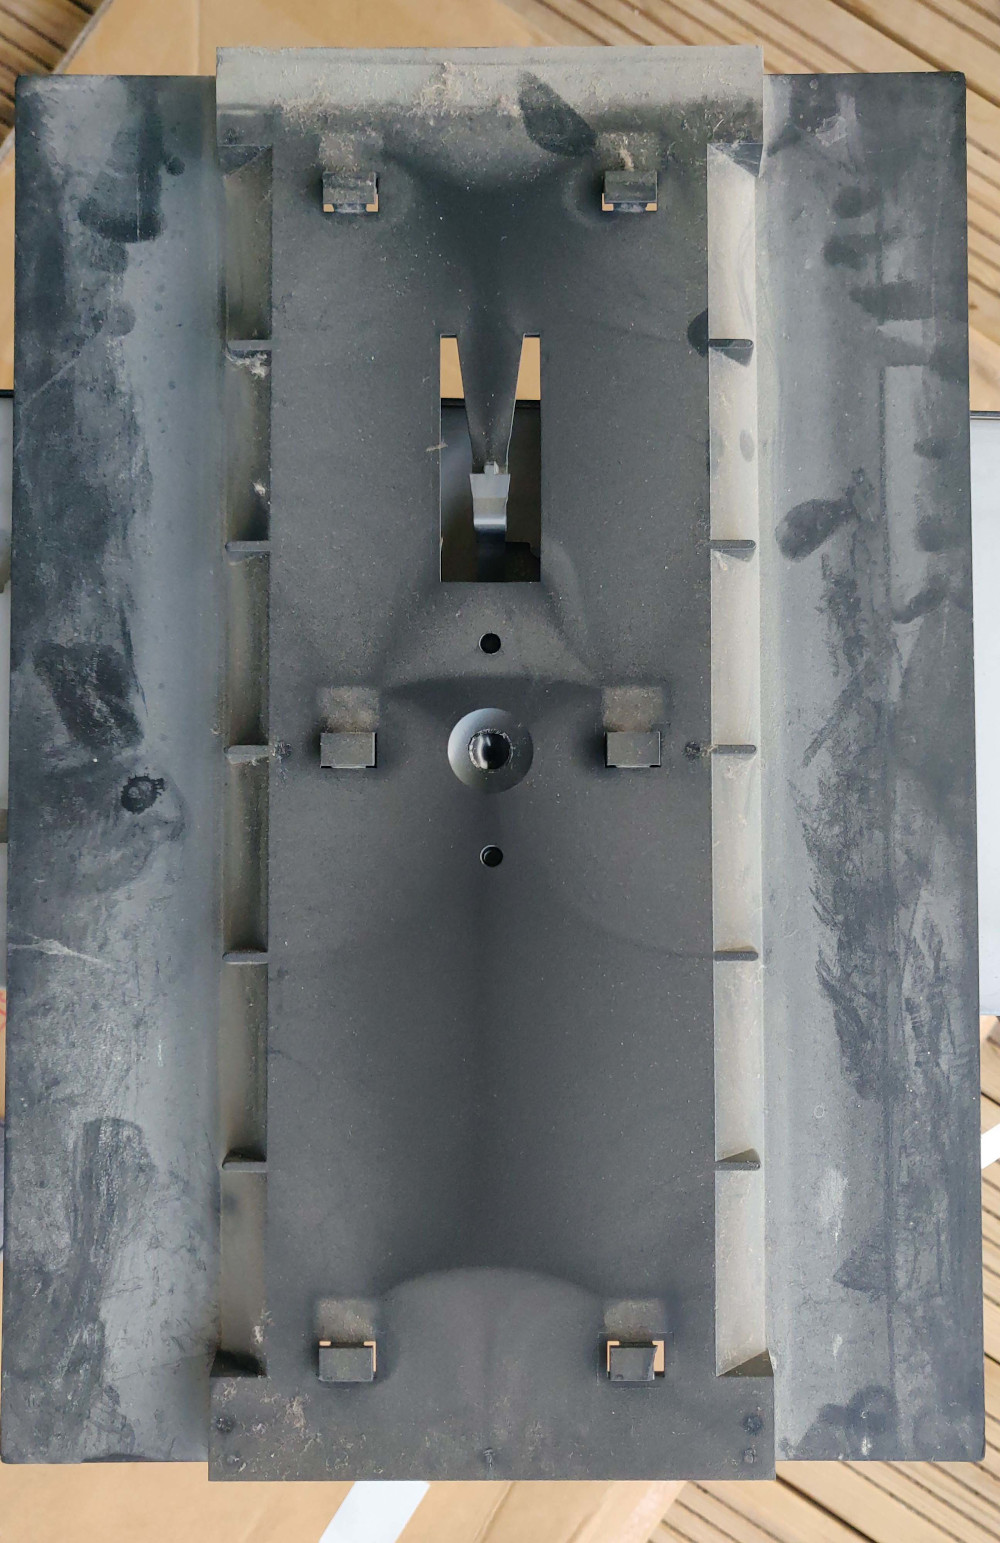
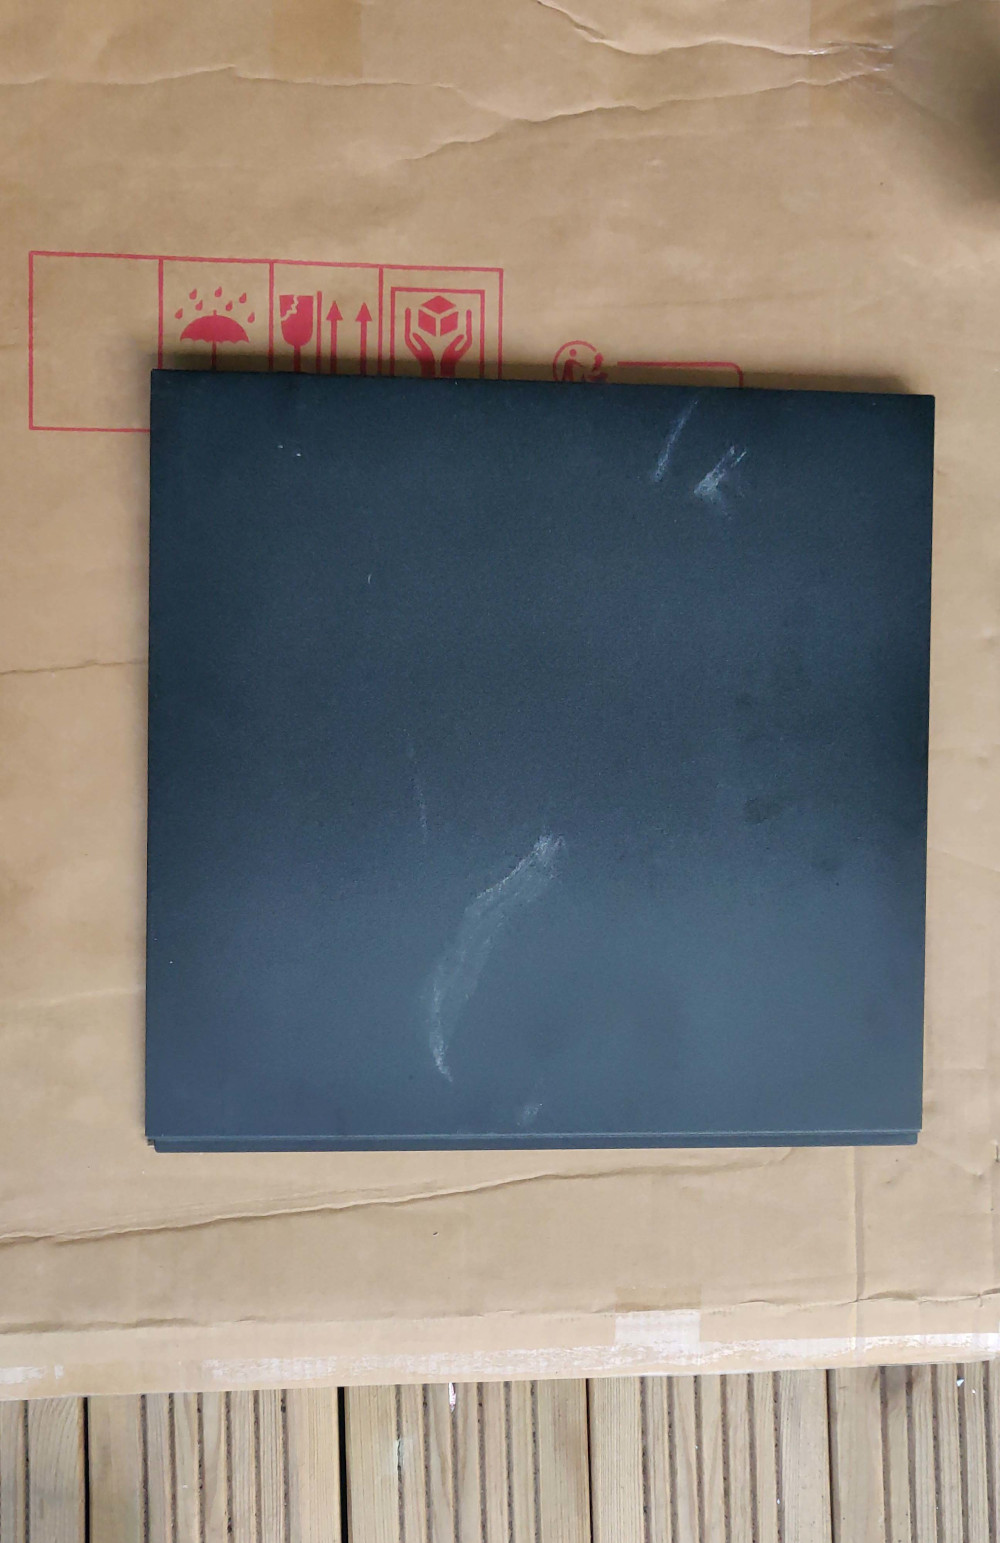
The first thing that stands out is the deplorable exterior condition of the machine. It is completely covered with a layer of dust up to 1/4 mm thick. Despite this, it appears to be in good condition under this layer of dirt. There was no stains or scratches on the machine:
| Facade | Facade | Foot | Side panel |
|---|---|---|---|
 |
 |
 |
 |
After this external inventory, I opened the machine to see the internal condition of the machine and the components.
Internal condition
After looking at the external condition, I opened the mainframe to see what condition the interior was in. When I opened it a lot of dust fell to the floor, the machine probably never having been cleaned since it left the factory.
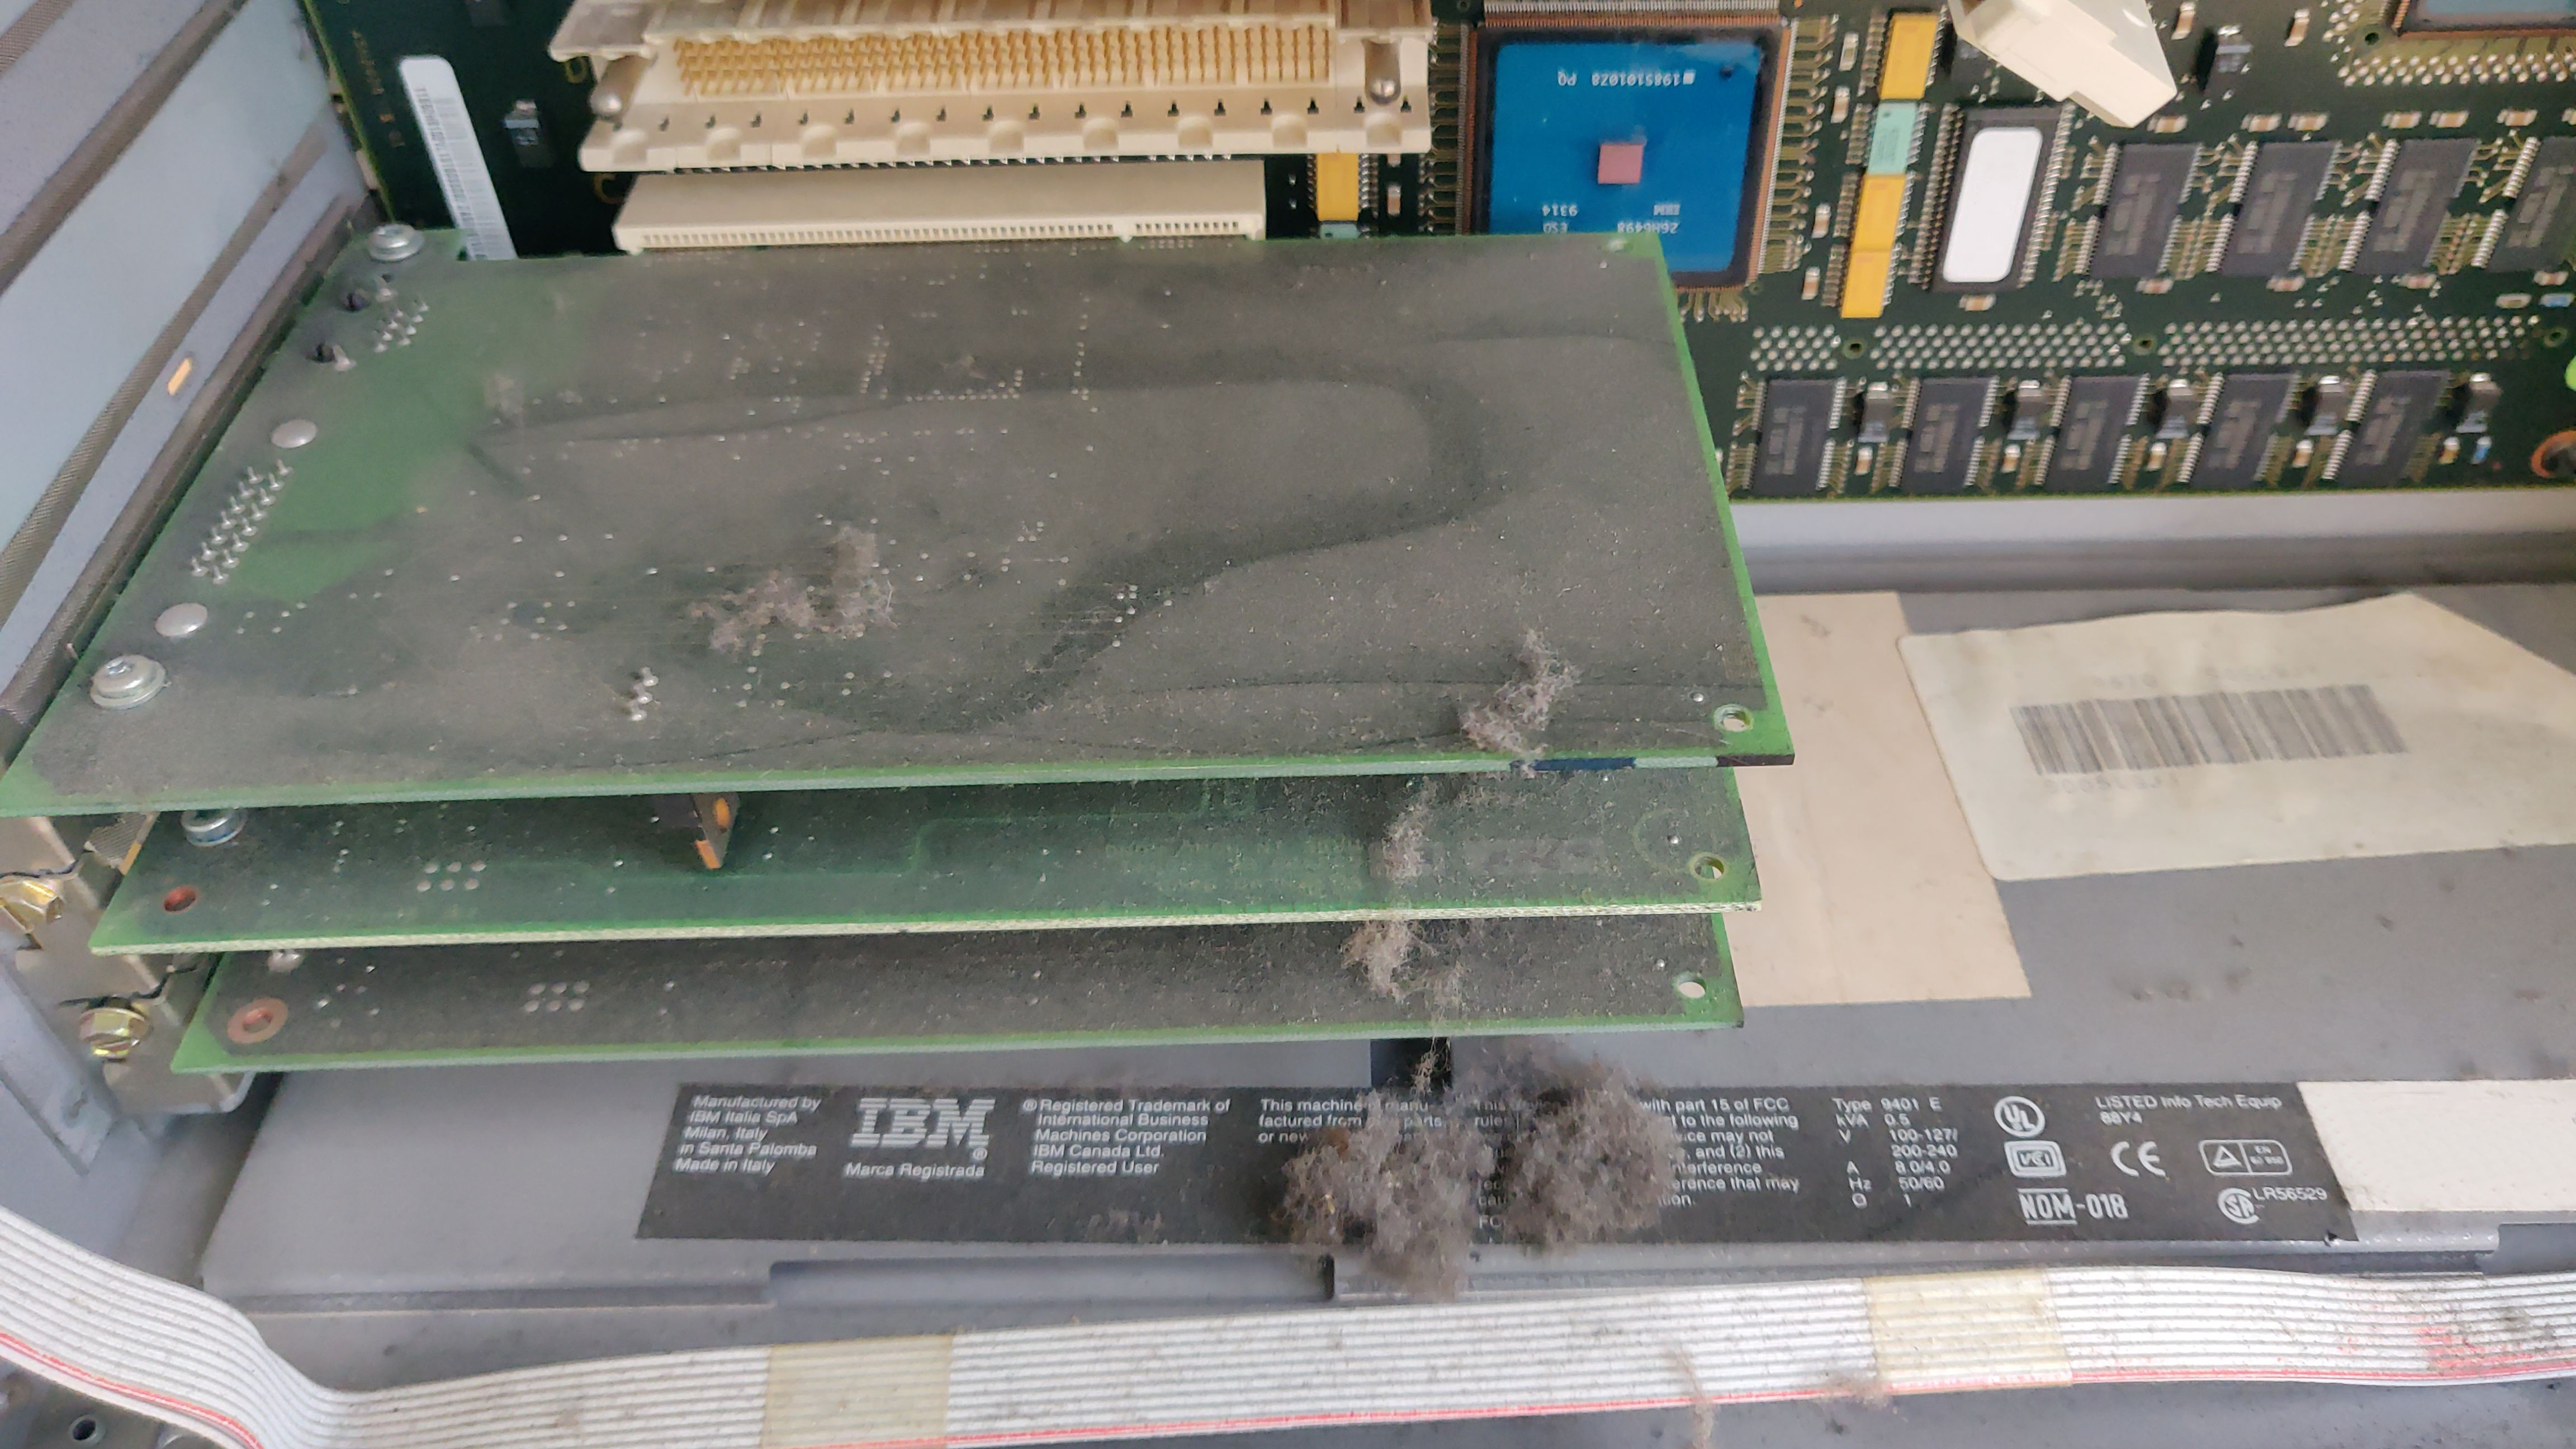
In view of the amount of dust, it was clearly necessary to completely clean the machine before using it.
Cleaning the machine
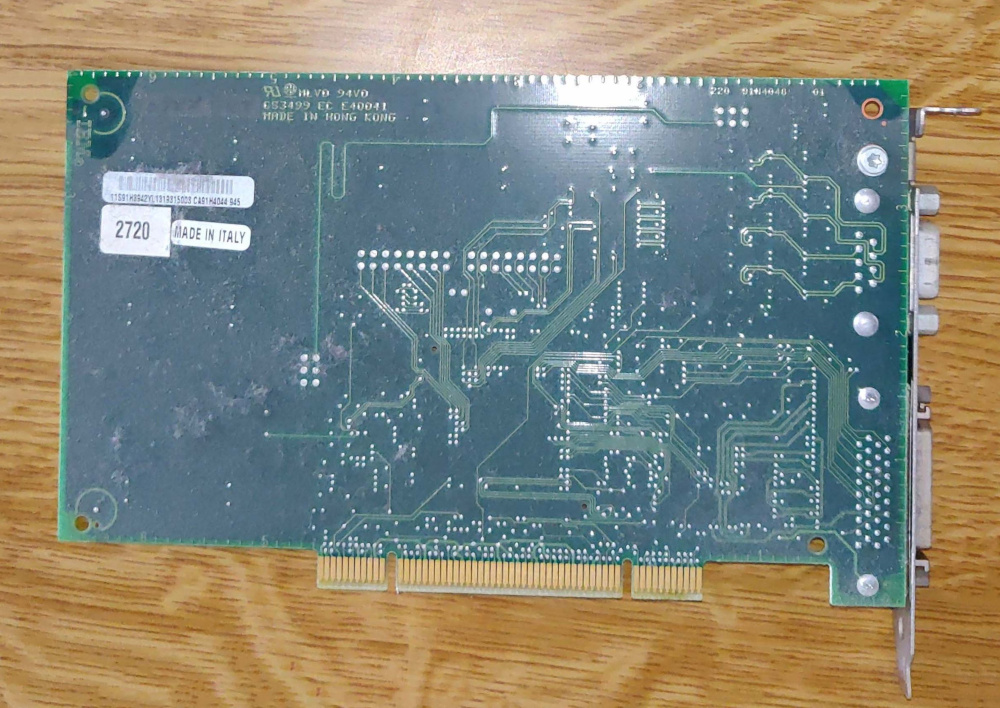
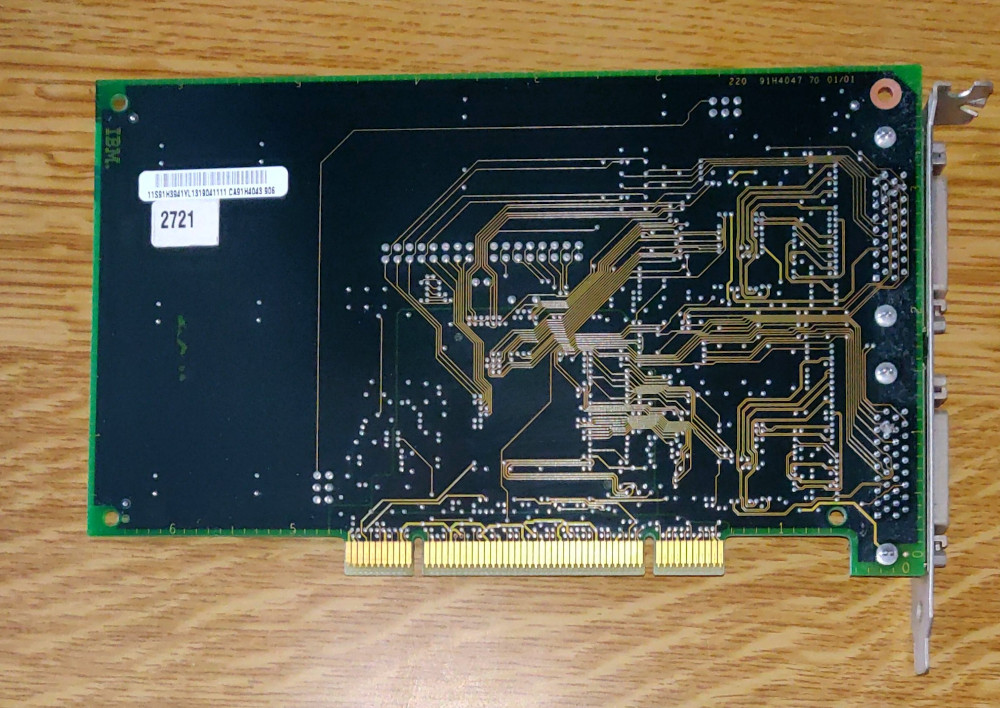
To clean this machine, I started by removing most of the dust with a brush, to make sure nothing was damaged. Then I took the PCI expansion cards apart one by one to clean them. To do this I used window cleaner and a toothbrush, to lightly scrape off the dust that did not come off. The result is impeccable, and guarantees not to damage the circuits! (Remember to dry the cards quickly anyway.):
| Before | After |
|---|---|
 |
 |
I then disassembled the block of hard drives, then the motherboard to completely empty the chassis:

Once the chassis got rid of all electronic elements, I cleaned it completely. For most of the work, I used an air compressor, and finished the rest with the window cleaner.

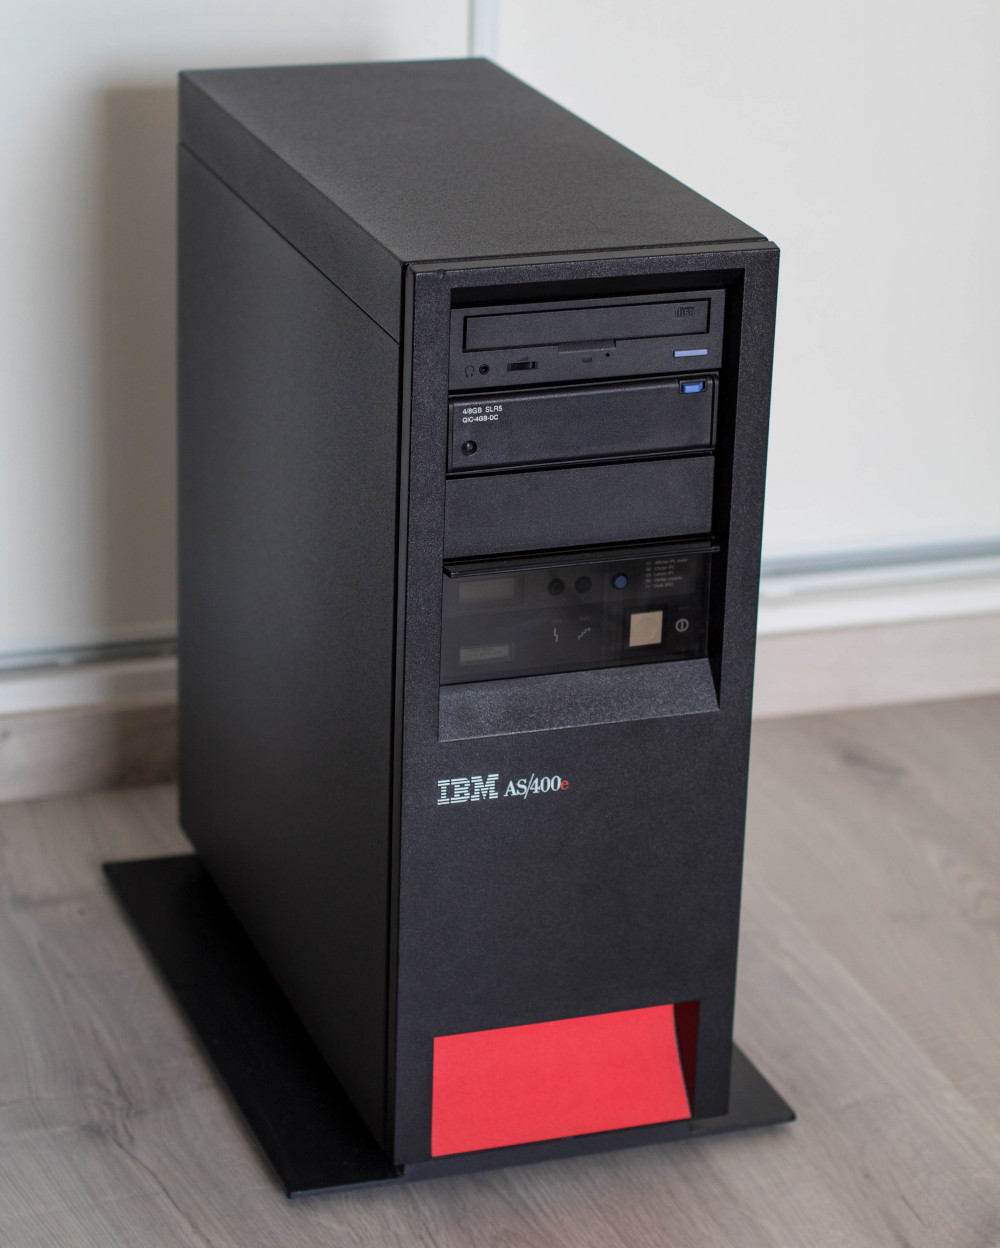
After cleaning all the machine’s parts, I reassembled it. The result is astonishing, after two days of complete cleaning:
| Before | After |
|---|---|
 |
 |
Now that the machine is clean, it’s time for the first boot! I plugged in the machine, and pressed the white “Power” button on the front of the control panel to start it.
First boot
On first start-up, the machine seems to be working, and the codes of the actions in progress are clearly displayed on the screen of the control panel on the front of the machine. I can hear the hard drives in action, which is a very good sign! After about 10 minutes, I see this fixed error code on the screen of the control panel on the front of the machine:
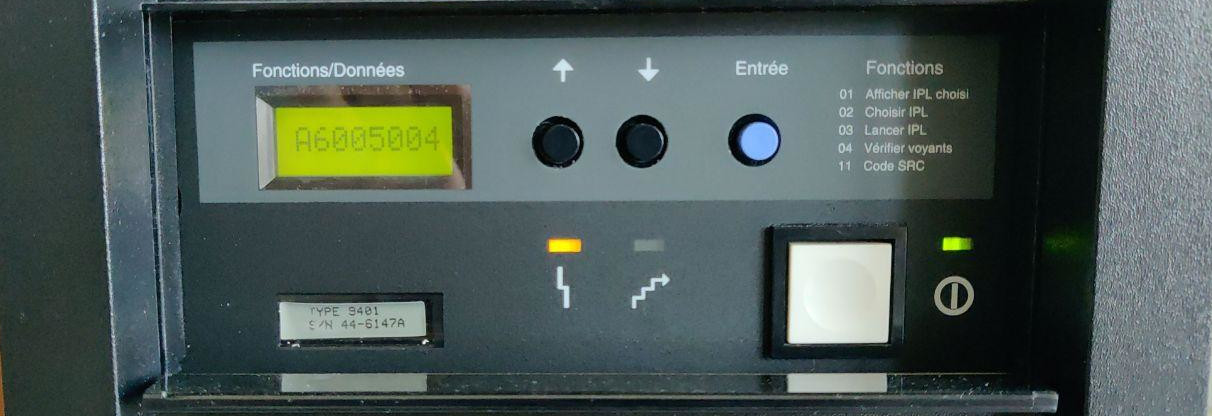
The display shows the error code A5006004. After searching in the online IBM documentation, I found that this error code means that no Twinax console is detected by the AS/400.

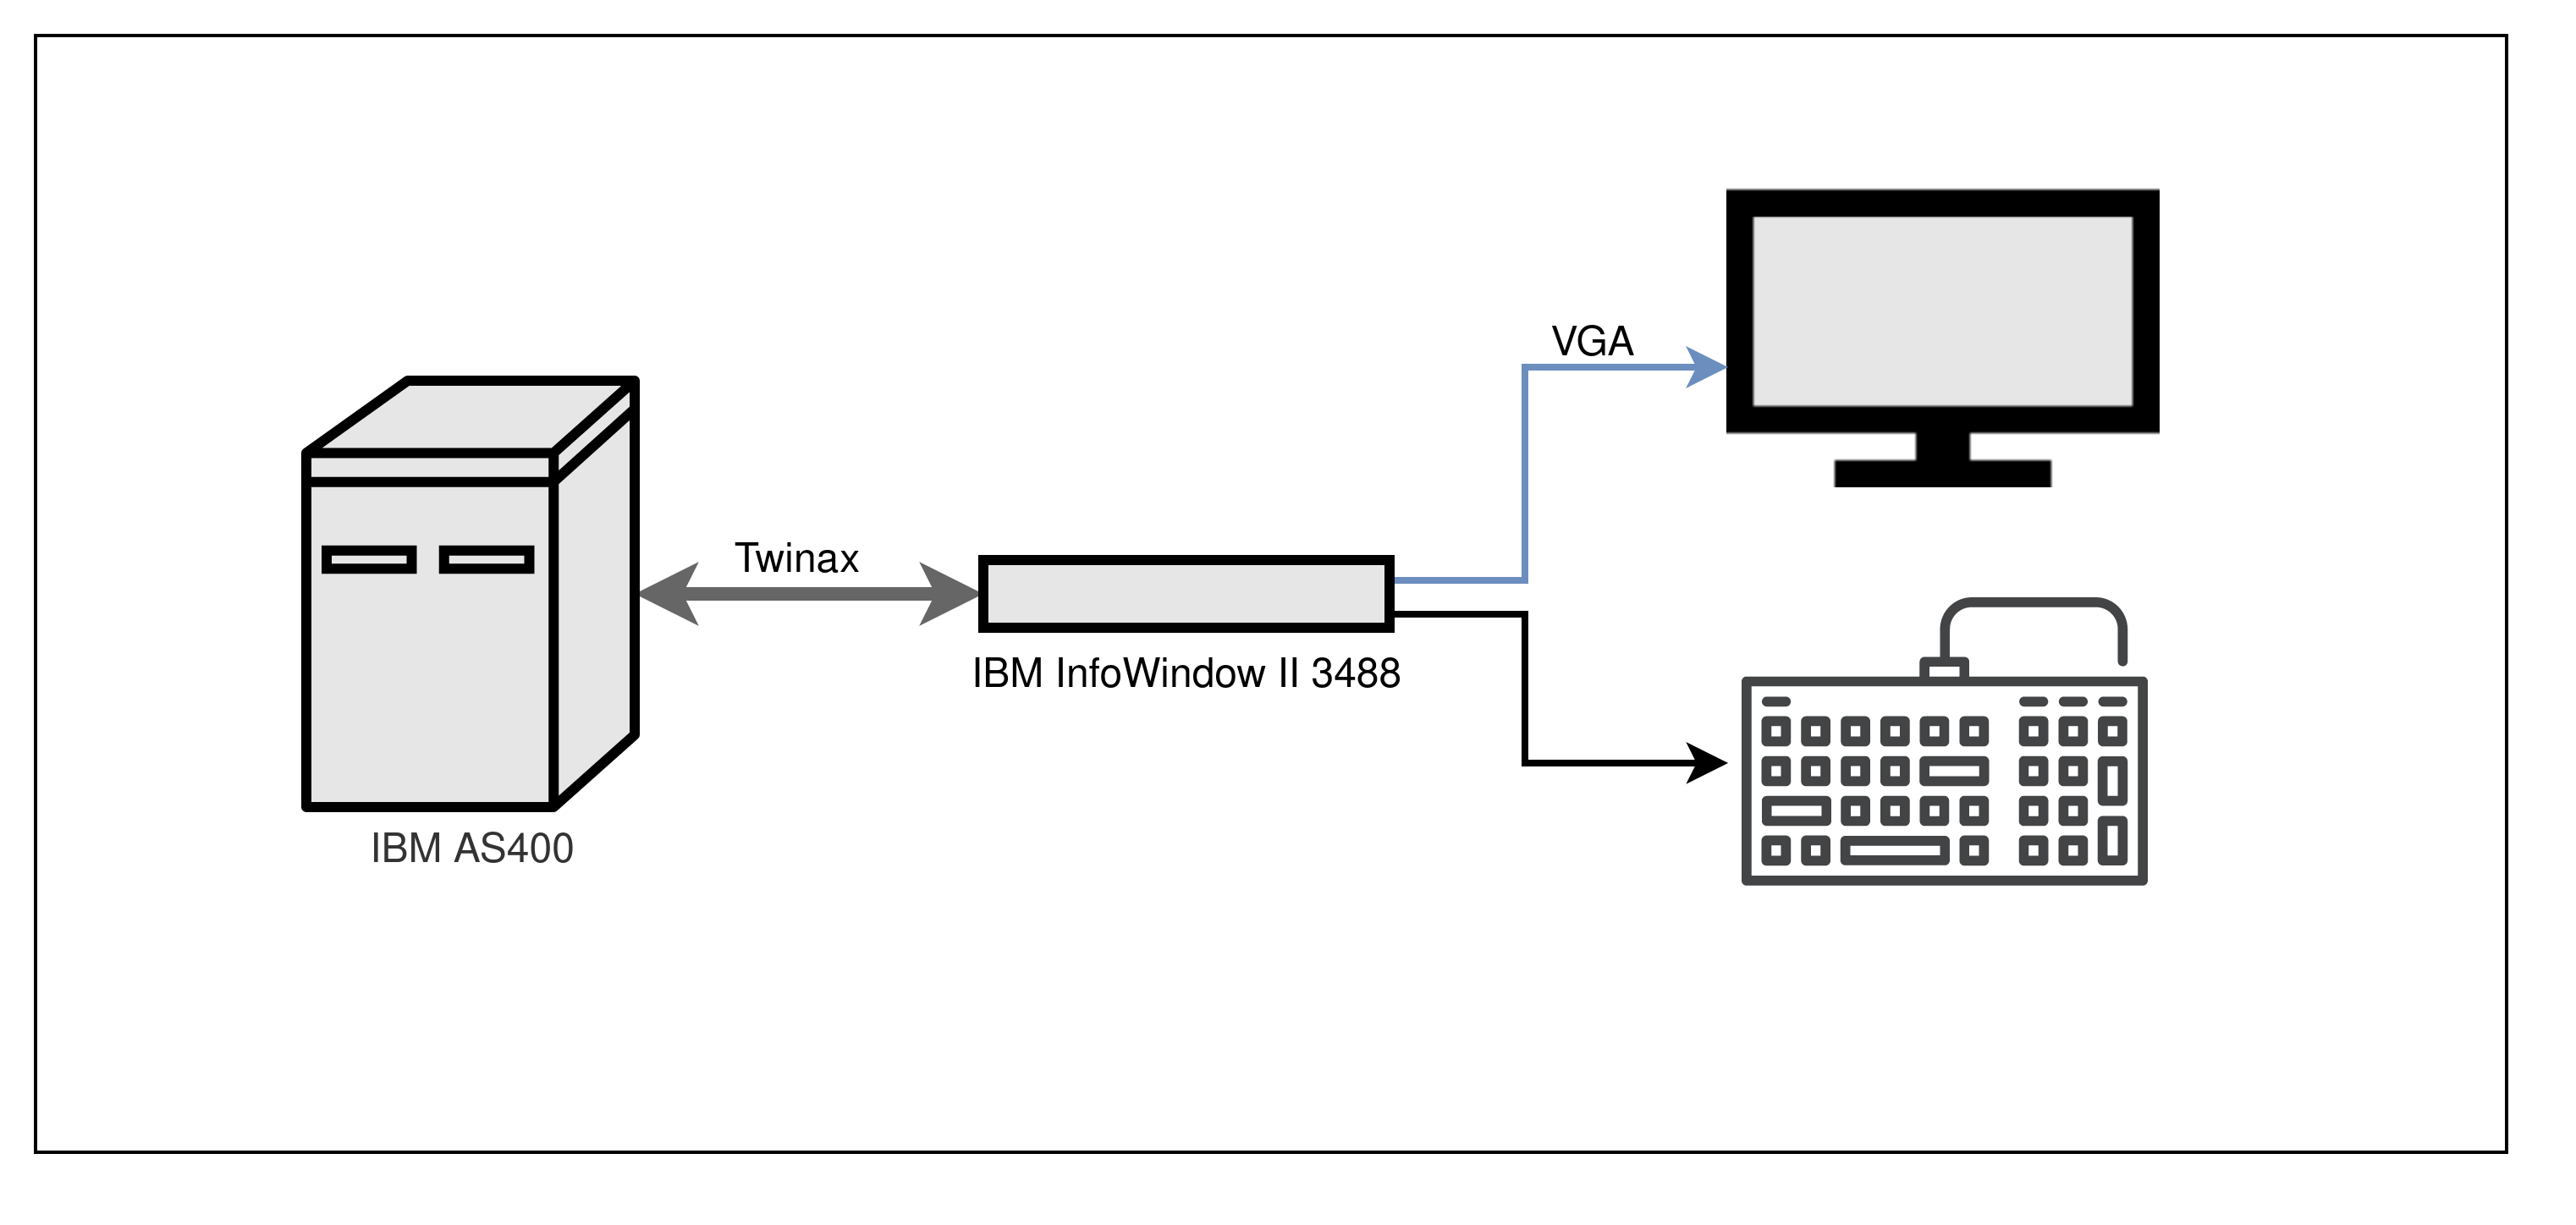
There is therefore no display or possible interaction with the system without a Twinax console. This console converts the Twinax data to a conventional VGA output for common screens. So I started looking for a Twinax console, the IBM InfoWindow II.
Twinax Console
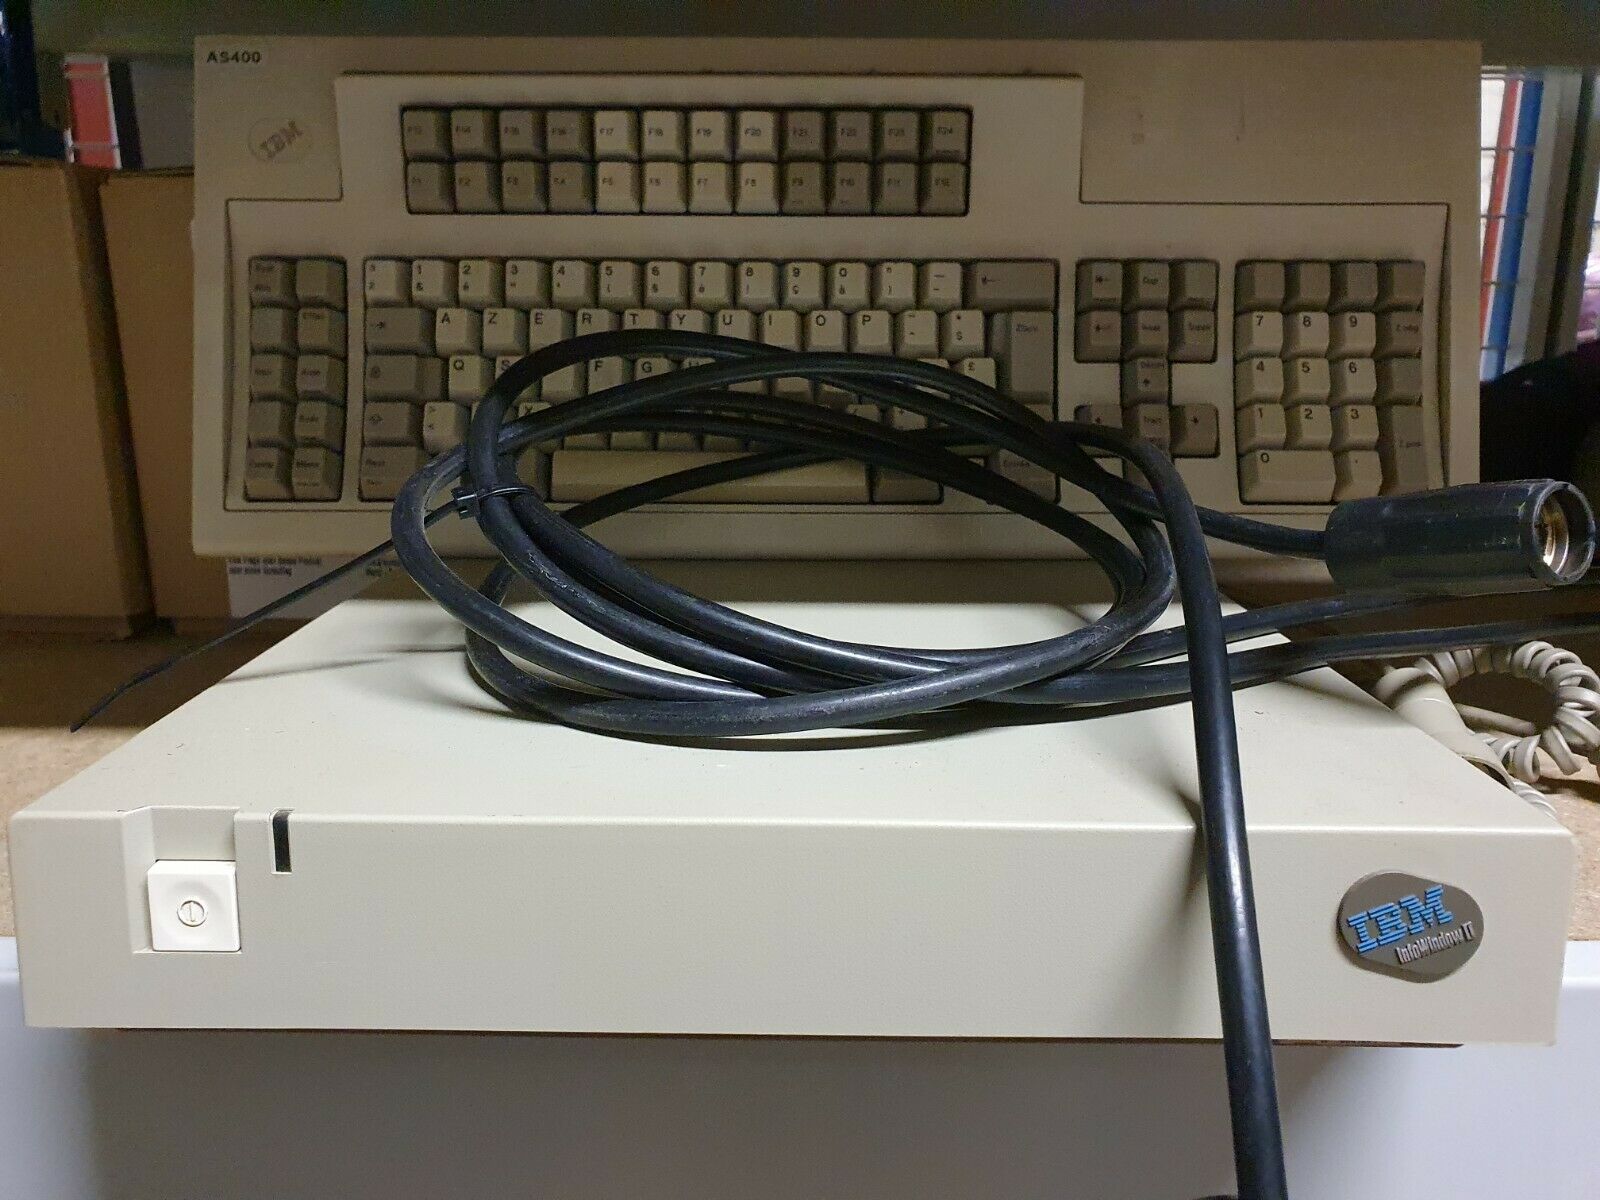
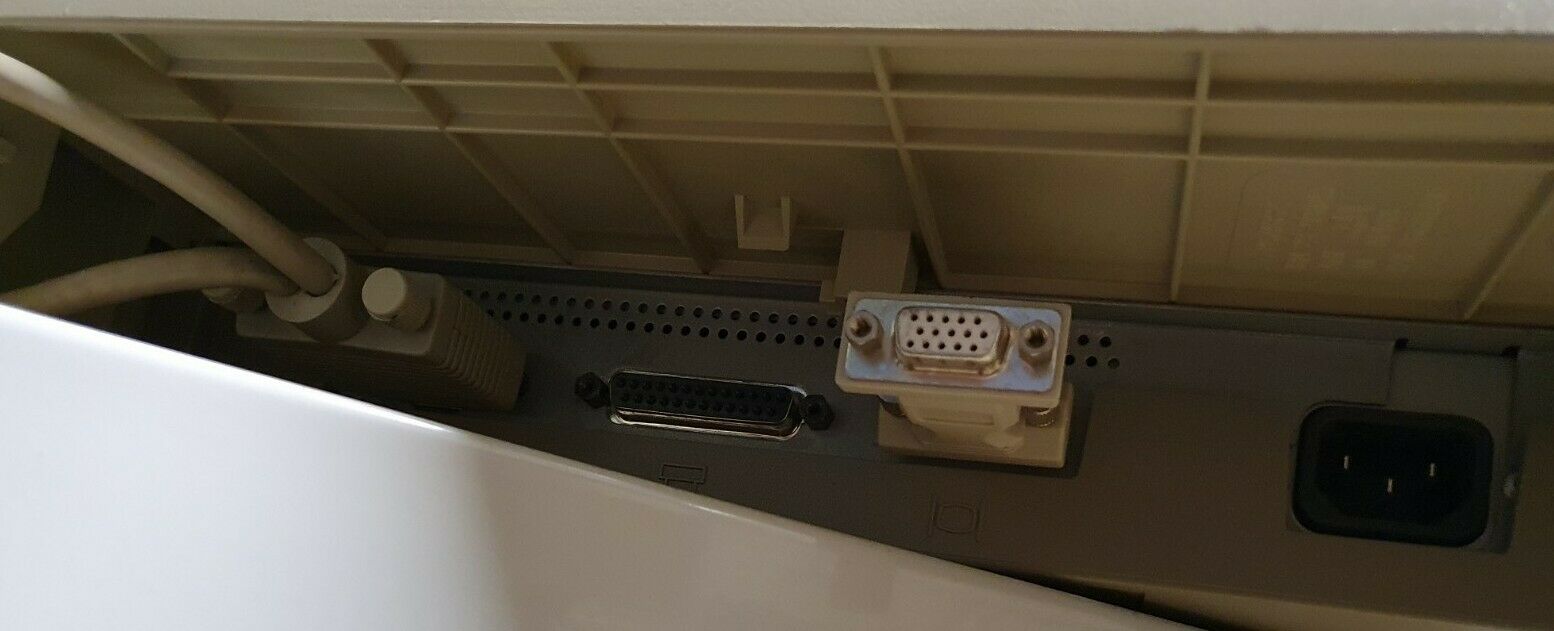
After a few weeks of research, I found on Ebay an IBM InfoWindow II 3488 Twinax console complete with Twinax cables, and an IBM Model M keyboard at an affordable price.
| IBM InfoWindow II 3488 | IBM Model M Keyboard |
|---|---|
 |
 |
When I received it, I cleaned the exterior of the console as well as the keyboard.
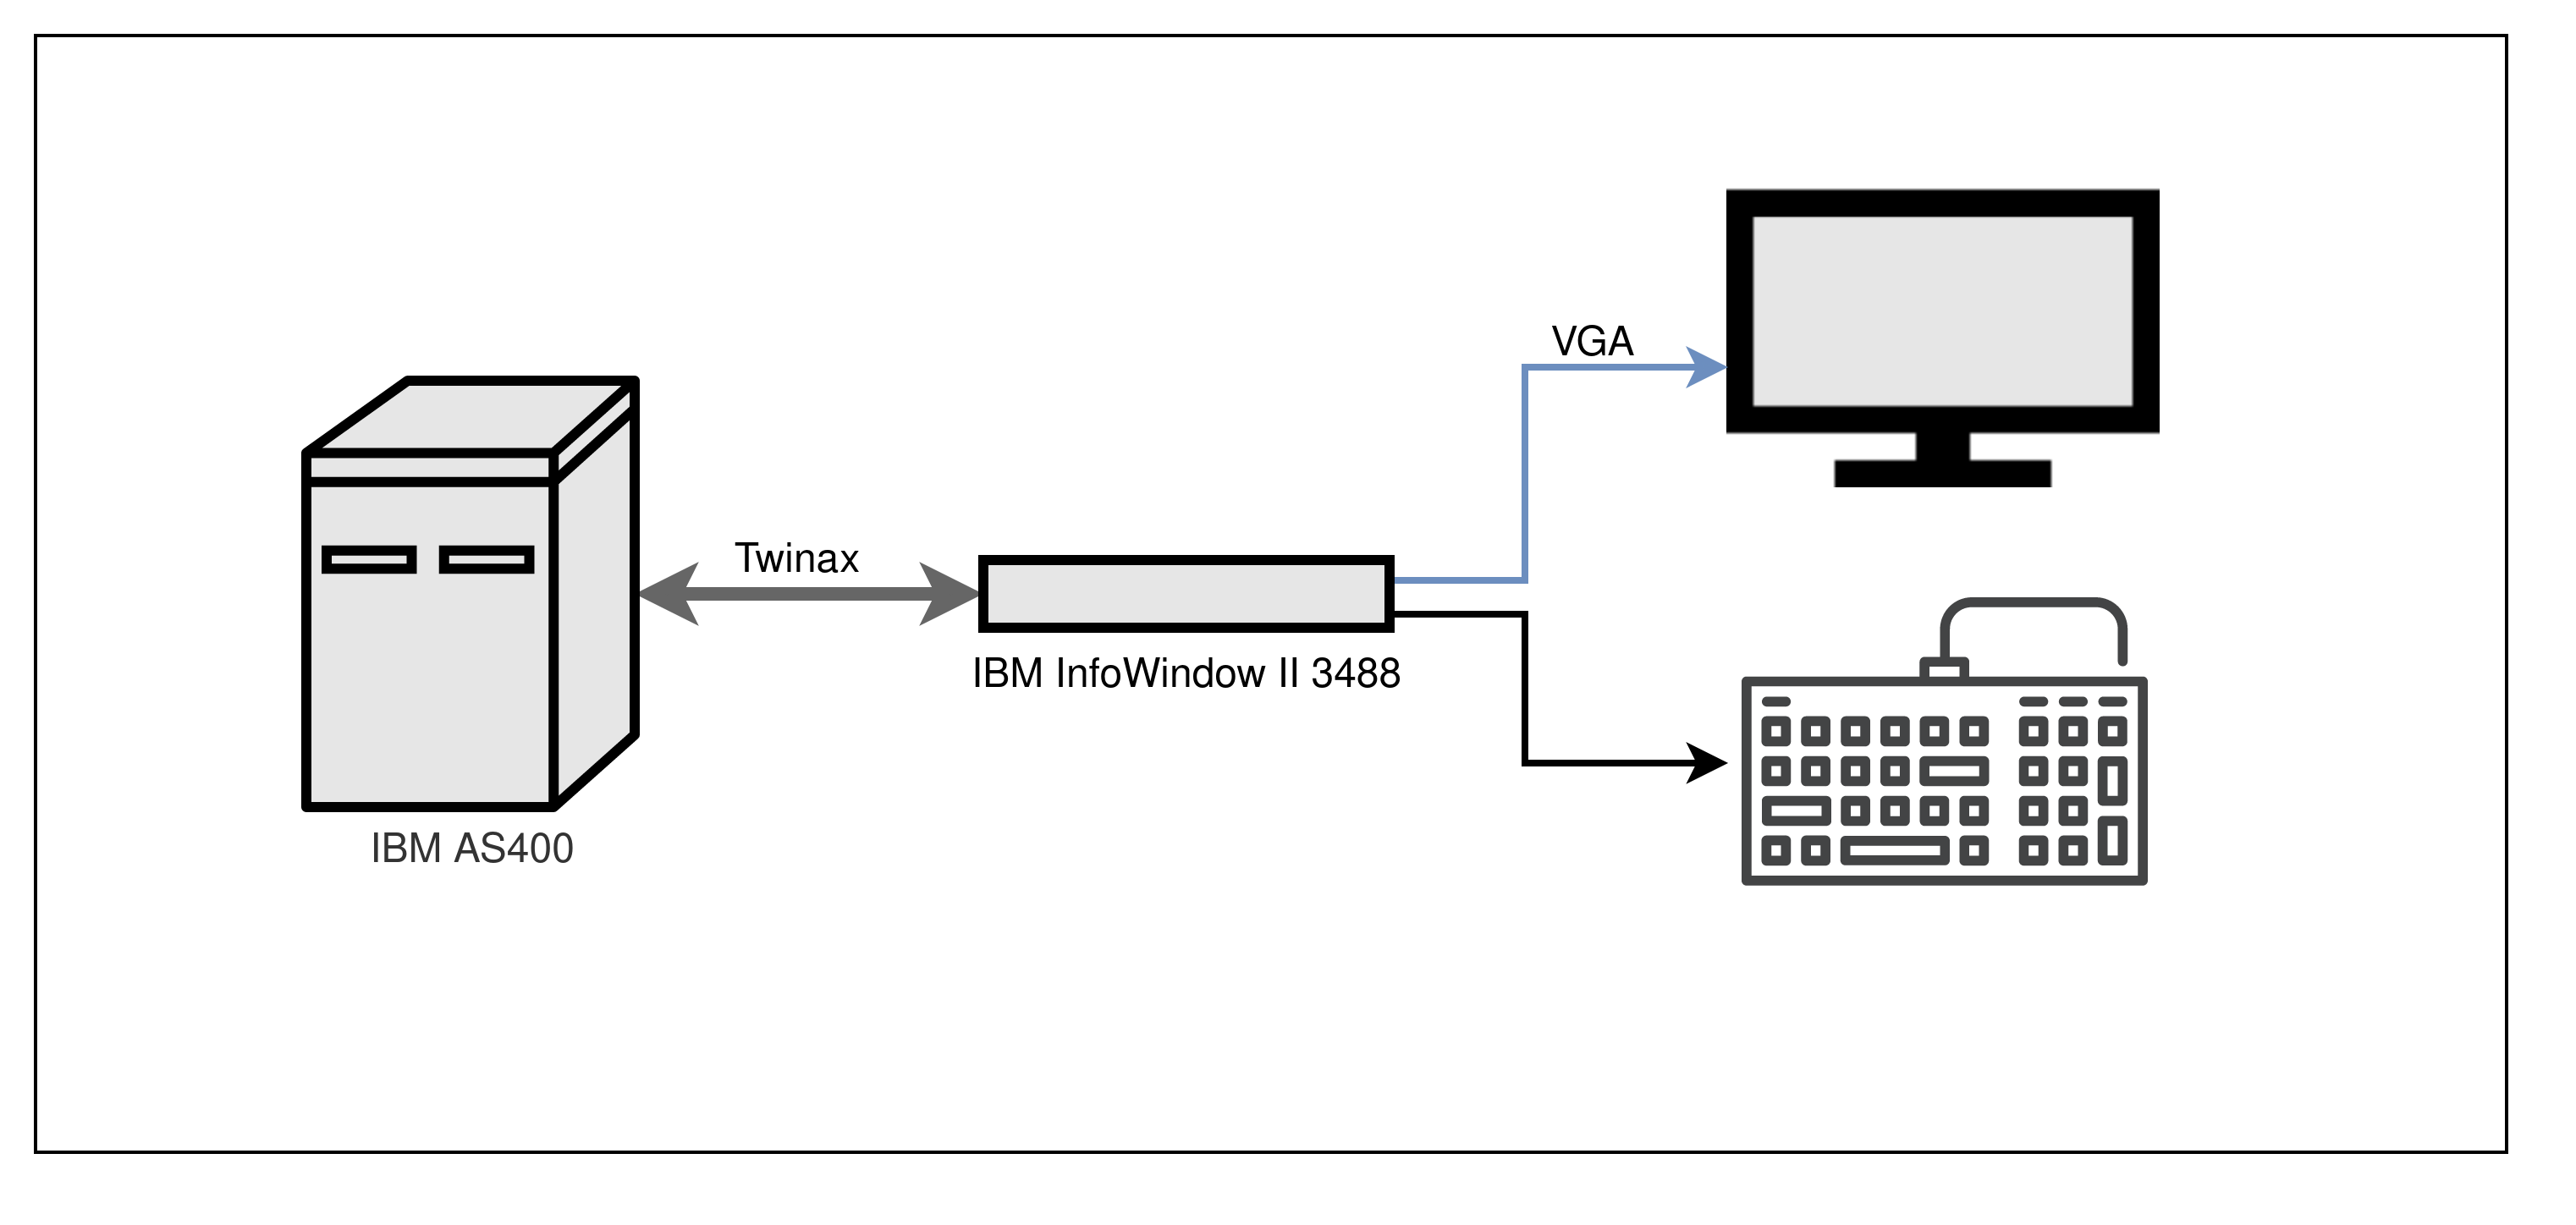
I then connected all the elements according to this diagram:
And finally :
