
2020-11-25 19:22:28 Author: medium.com(查看原文) 阅读量:405 收藏
![]()
Hello, All. My name is Ranjan. I am a final year CS undergrad and a part-time bug bounty hunter. Due to college, I don’t get enough time for bug bounty hunting. So, I decide to automate some of my tasks, and for that, I was searching for a VPS(Virtual Private Server).
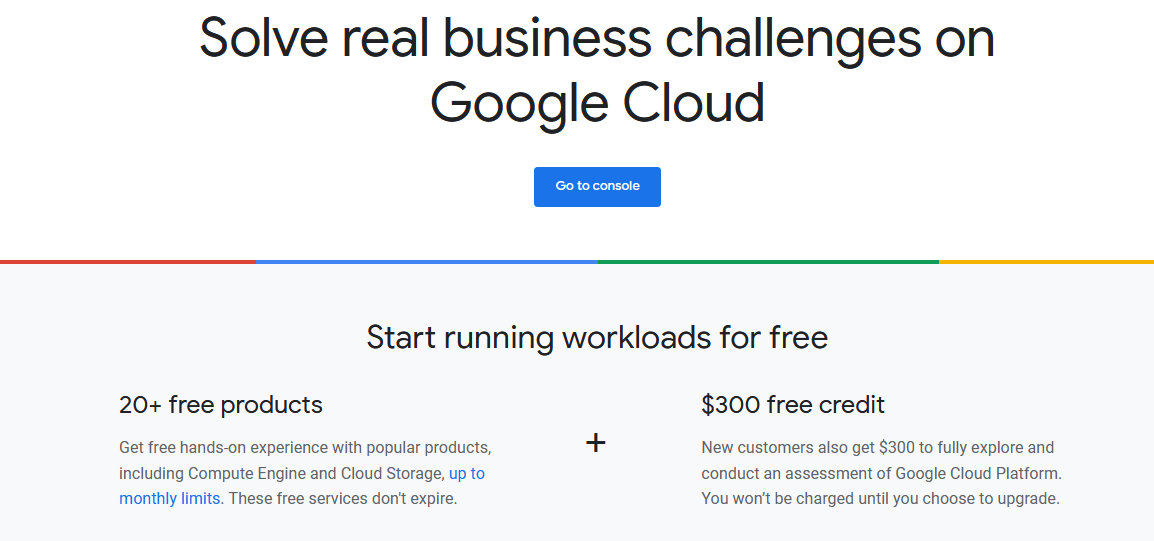
So I found out there is a lot of VPS in the market like Digital Ocean VPS, Linode, and google cloud. But I liked Google cloud because of its free tier offer.
I will be using Google cloud in this writeup and will provide you step by step procedure for setting up your VPS.

For new customer, google cloud provide 300$ free credit which you can utilize up to three months. You need to add a billing account in the google cloud.
You can claim it here:
Step 1: Select your country.
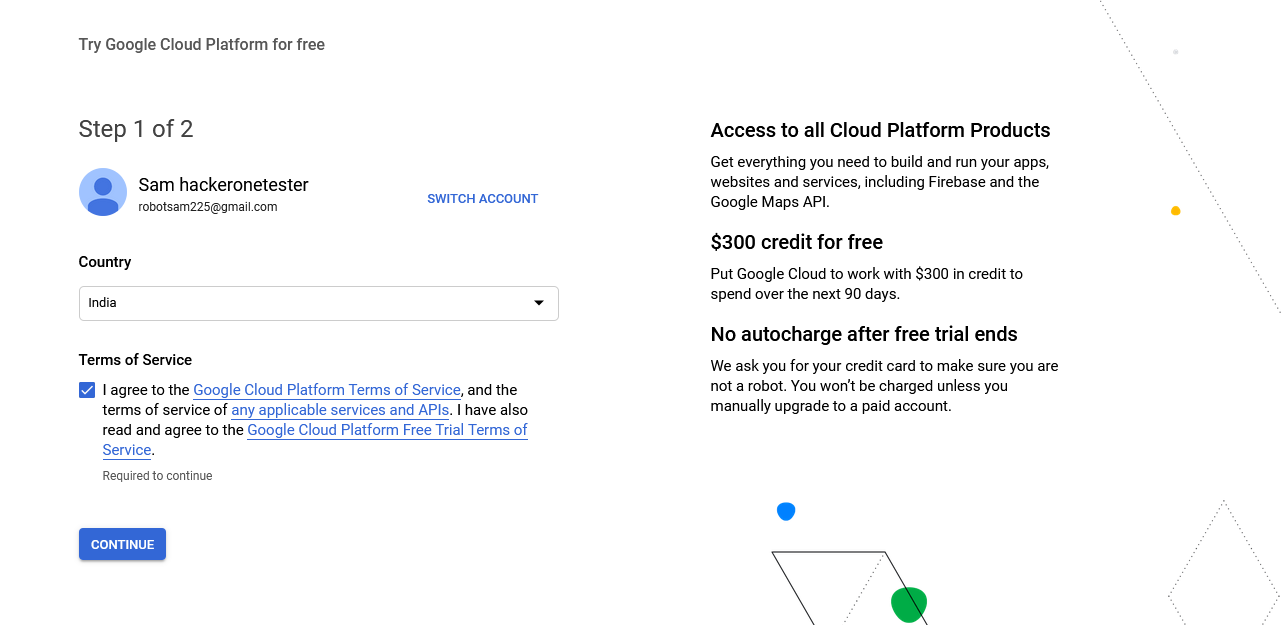
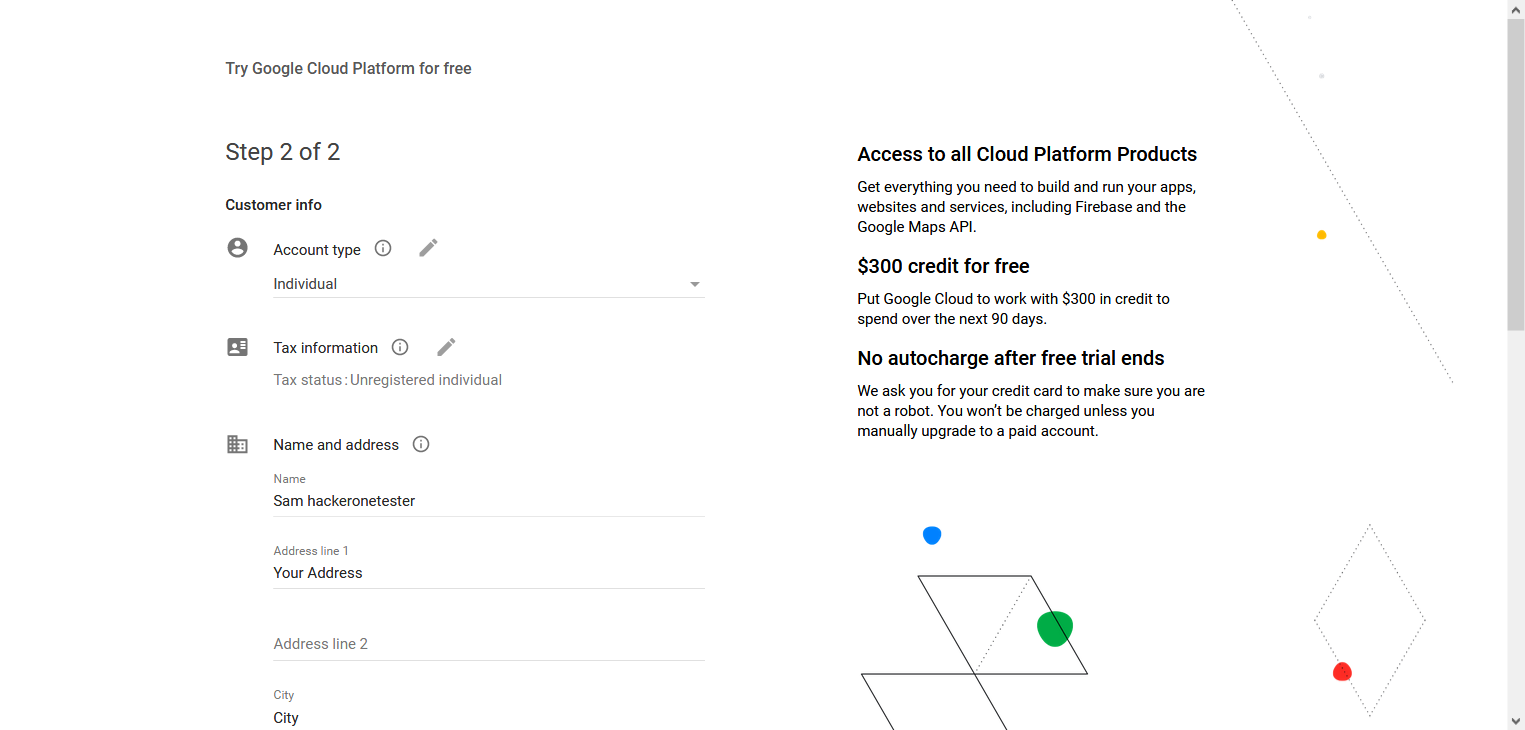
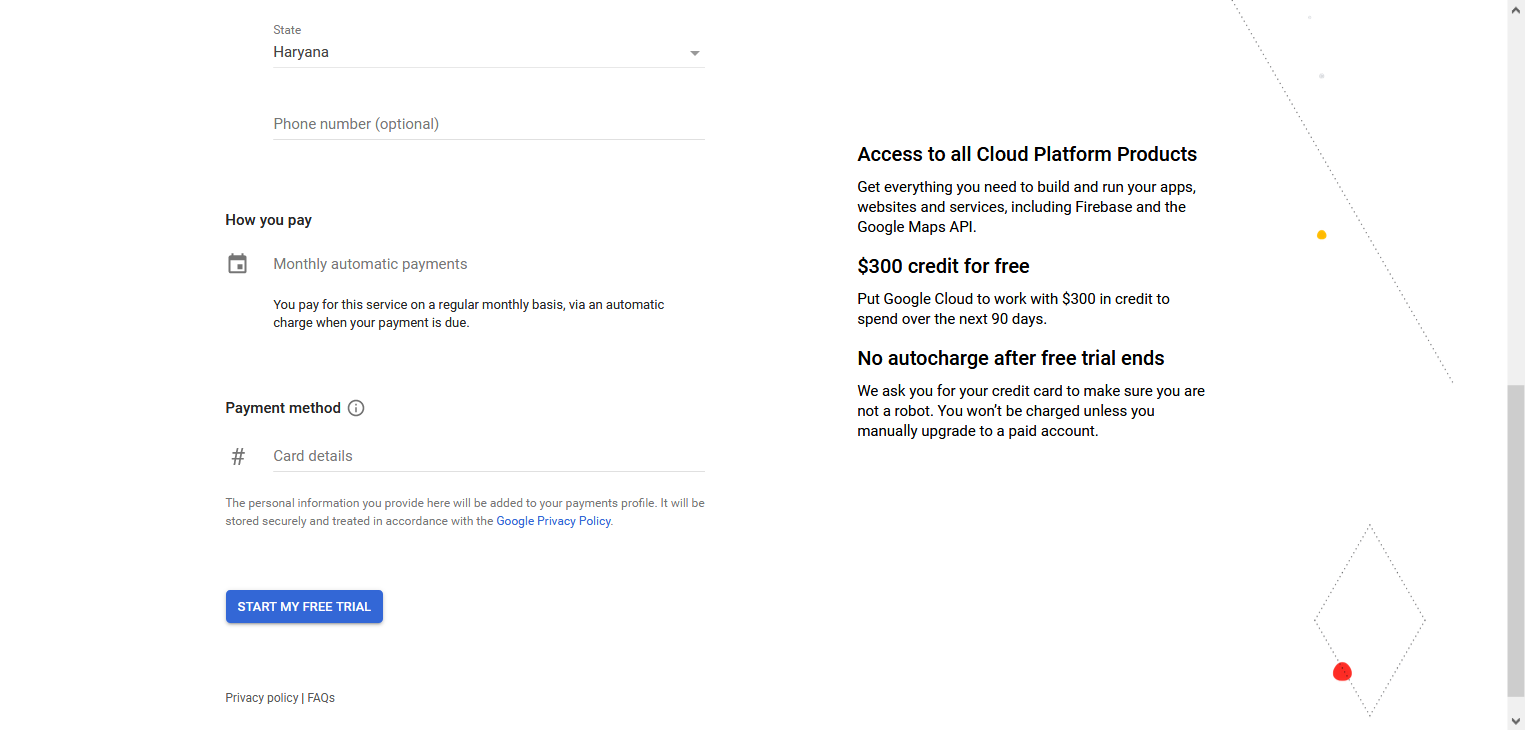
Step 2: Fill in all the necessary details and your card details as well.
Now, you have to verify your payment by providing a pic of your credit card or giving a screenshot of your bank account statement.
Verification hardly takes 2–4 hrs. After verification, you are good to go.
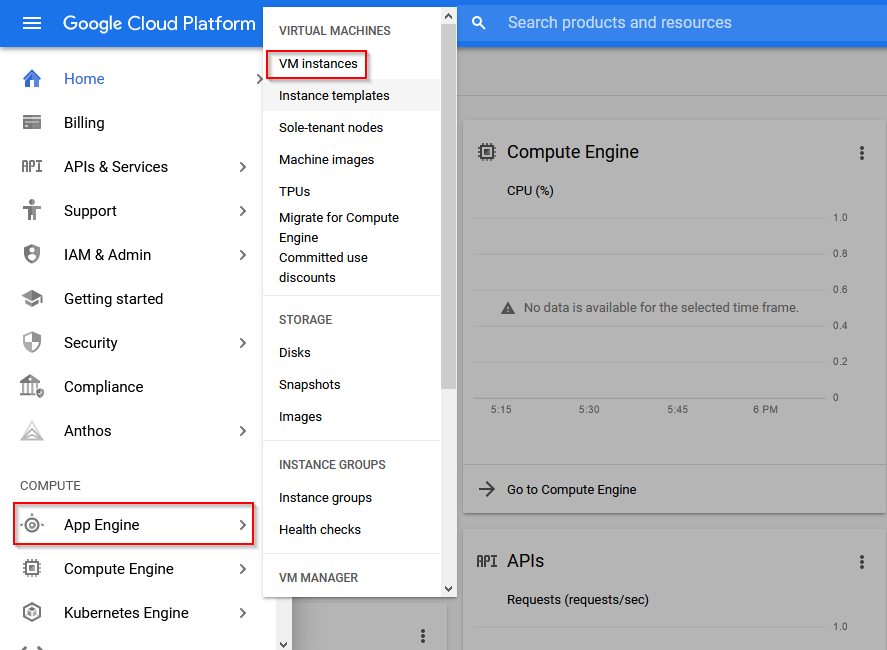
Now go to the console and select Compute Engine>VM Instances in the left-hand menu bar.
After this, google will do some initialization tasks, including setting up an initial project called My First Project, so you don’t have to take care of that.
When the platform initialization task is finished, you can create your first VM by clicking on the Create instance button.
Steps to create VM:
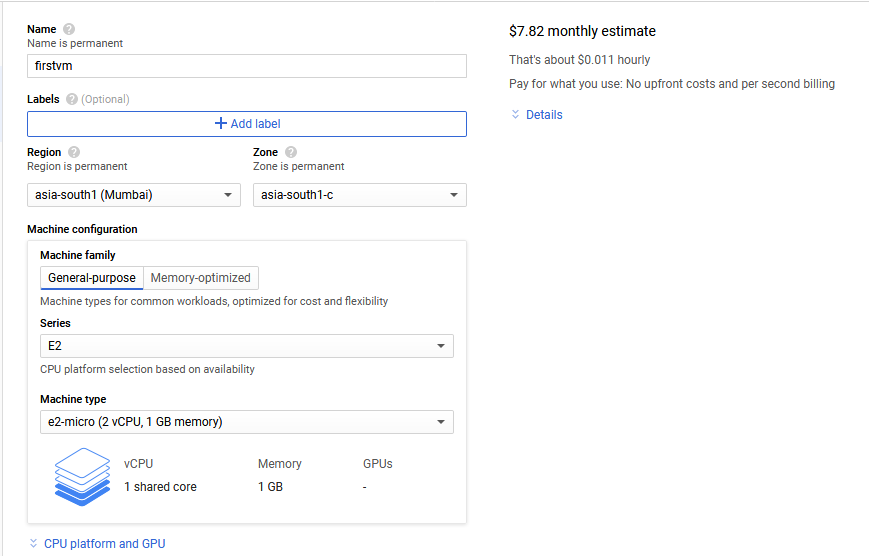
Give the descriptive name as per your choice. I gave a random name to my instance. Choose the region which is closest to you.
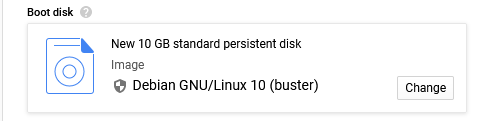
Now in the boot disk, choose an image that you are familiar with. I selected Debian GNU/Linux 10 (buster). Also, you can increase the size of VM by clicking on the change button.
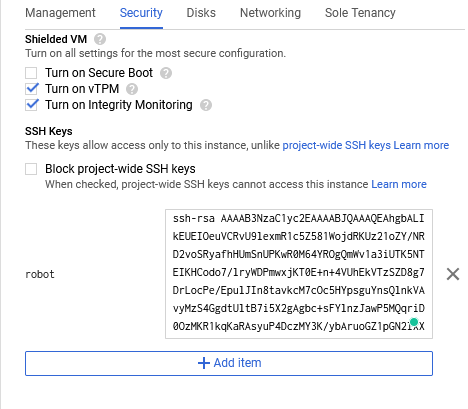
Now, open the section Management, security, disks, networking, sole tenancy. You can leave most of the settings here at their defaults, but what you most likely want to do is paste your SSH key into the corresponding field on the Security tab, so you can access the system using SSH later.
For the SSH access in Linux, Mac or in Windows.
Refer to this doc : https://cloud.google.com/compute/docs/instances/adding-removing-ssh-keys#linux-and-macos
You will get a brief idea about managing SSH keys.
While managing SSH keys, you have to provide a username to the instance. We use that username for accessing our instance. For example:
After this whole process, access your VM instance with your terminal by using the SSH protocol.
SSH username@Exteral IP.
It will prompt a password. Fill it, and you are good to go.
Here’s one problem you can’t use the apt command here.

For that we have a solution.
We have to put user in the sudoer list and after that we can run higher privilege commands.
Visit this site and you will get to know put user in Sudoer list:

Now with the Sudo command, you will install git.
There is a great project which was created by Harsh Bothra :- Project Bheem
Make sure you installed go before running this bash script.
Just clone it and run the bash script in your VM instance, which runs iteratively to carry out various tools and recon process & store output in an organized way.
So that’s it from my side. Now go on hunt on your favorite targets by using your VPS for the recon automation and save your time.
If you like this writeup, Give a Clap, it will boost my confidence to write more for the community.
Till then, See ya. GOOD BYE.

如有侵权请联系:admin#unsafe.sh